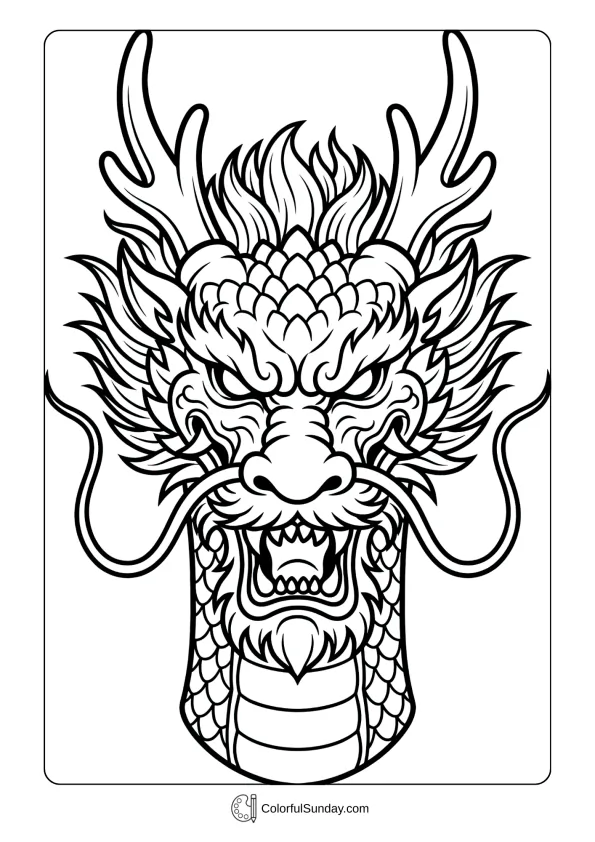
Enjoy hours of creative play with our complete collection of 4,100+ free coloring pages for kids and adults ready to download and print at home. You’ll find all the coloring sheets from our website gathered in one simple place, so browsing feels easy and fast. From cute designs to detailed scenes, there’s something here for every child and every mood.
Each page works on its own, but they also pair well with easy projects like wall art, greeting cards, bookmarks, or little booklets. Kids can color for five minutes or spend an afternoon creating something they’re proud to share. Parents and teachers can mix learning with creativity, and siblings can swap finished pages like mini works of art. Scroll through the categories, find a favorite, print it out, and start coloring! 🎨


More Free Printable
Coloring Pages

Cross(38 Pages)

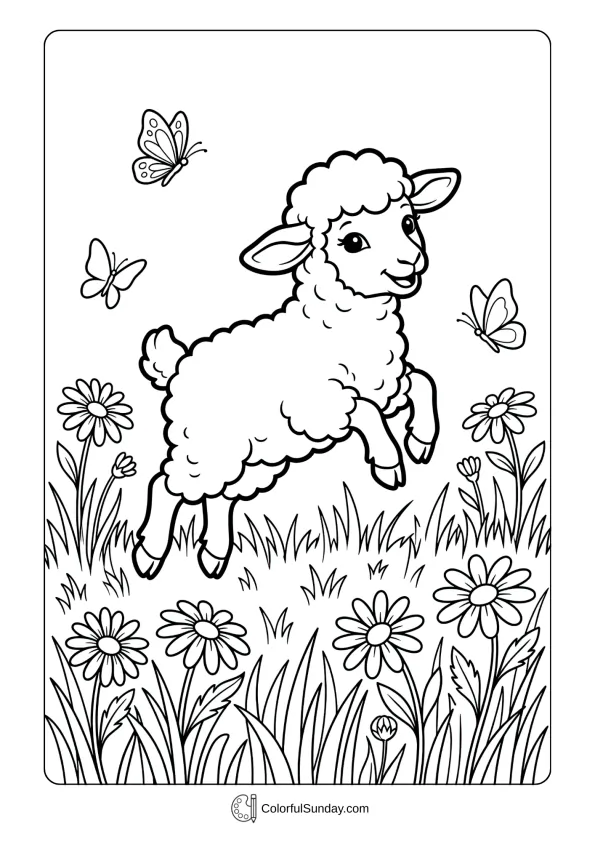
Easter Lamb(31 Pages)

Easter Chick(28 Pages)

Easter Bunny(50 Pages)

Disney Easter(32 Pages)

Easter Egg(53 Pages)

Easter(84 Pages)

Father’s Day(63 Pages)

Eid(30 Pages)

April(36 Pages)

Spring(44 Pages)
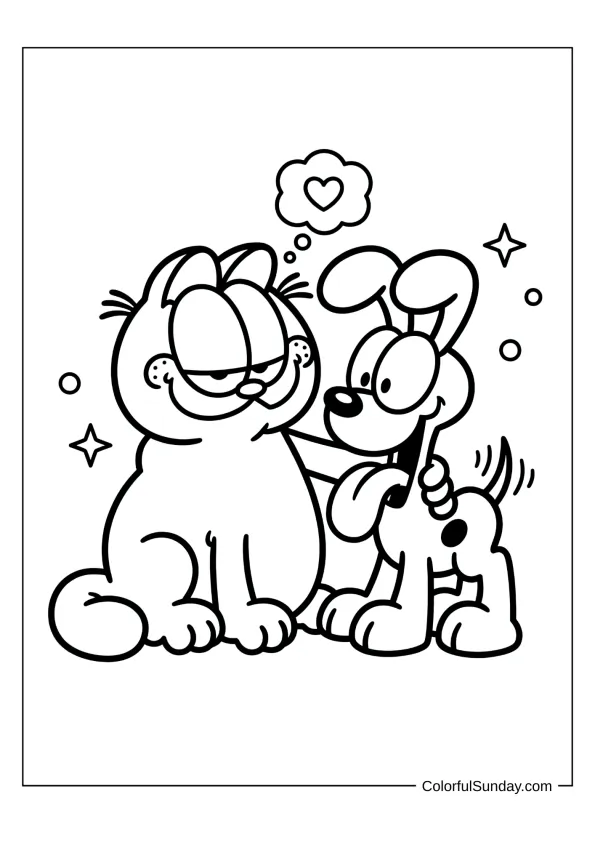
Garfield(43 Pages)
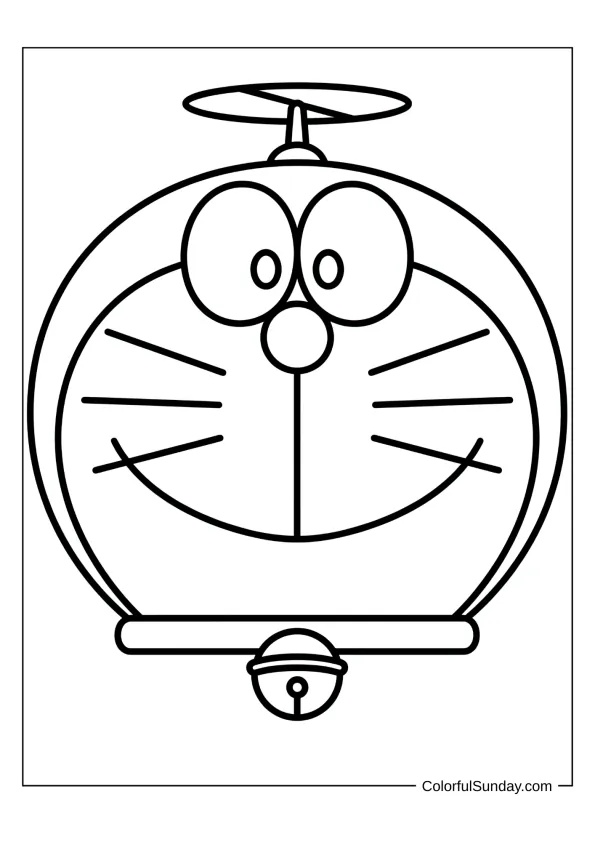
Doraemon(30 Pages)
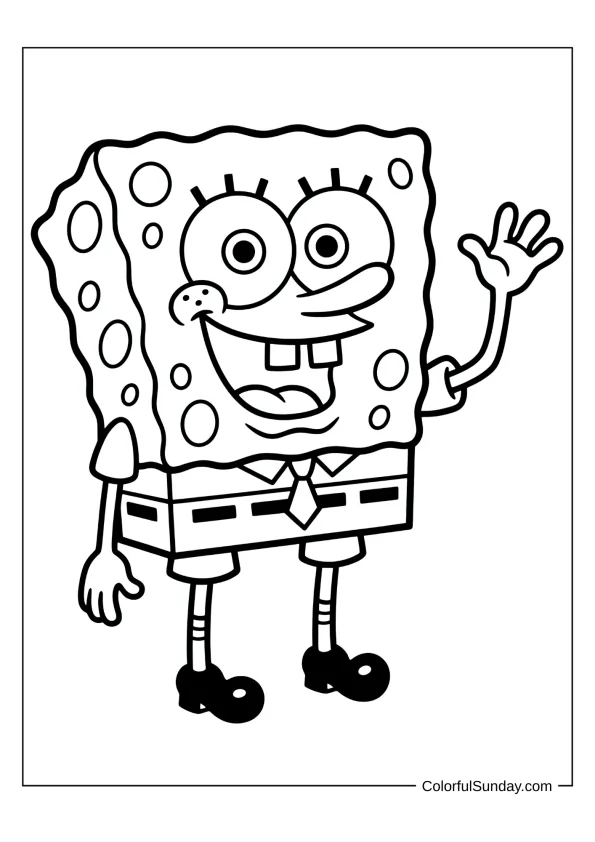
SpongeBob(70 Pages)
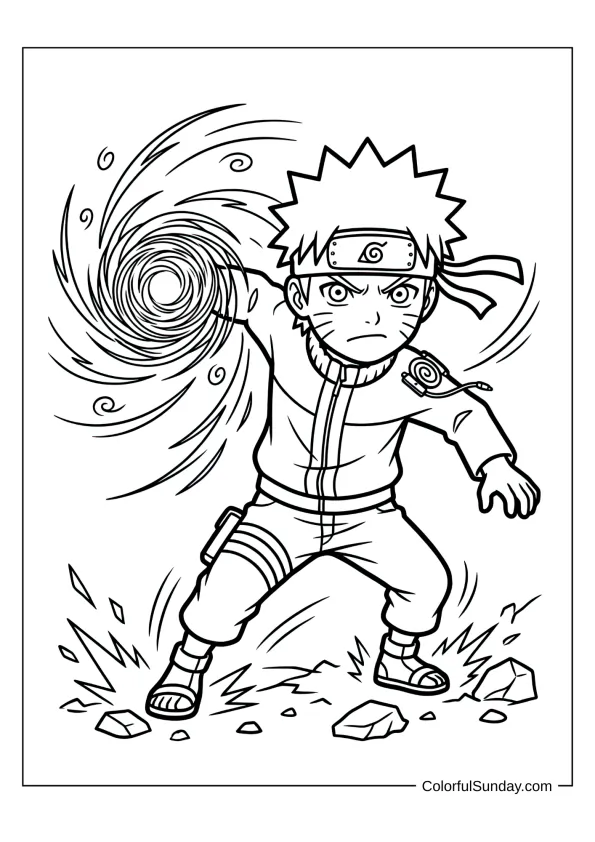
Naruto(46 Pages)
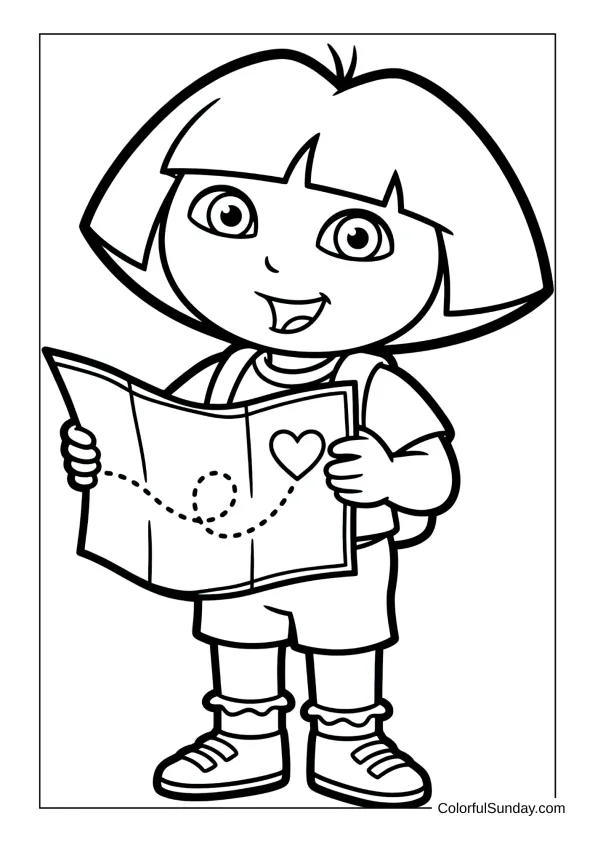
Dora the Explorer(56 Pages)
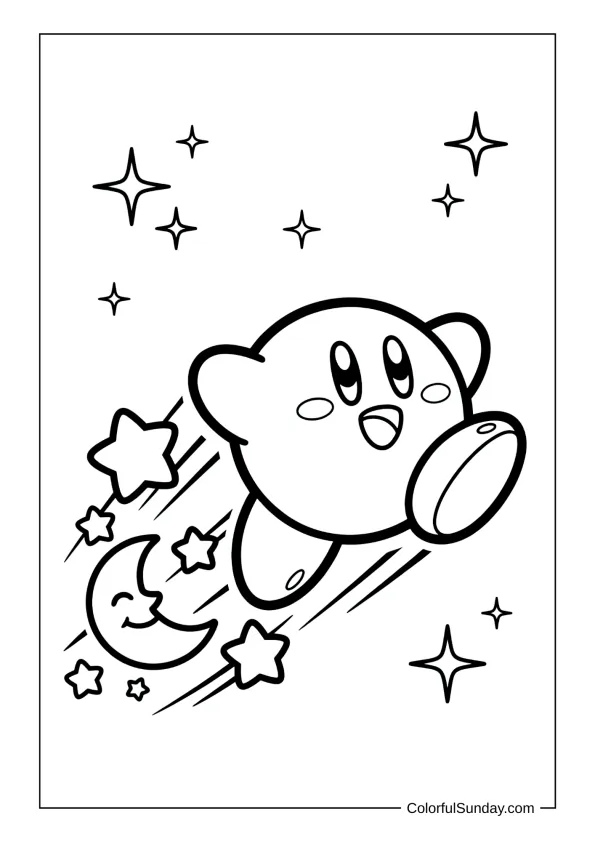
Kirby(44 Pages)
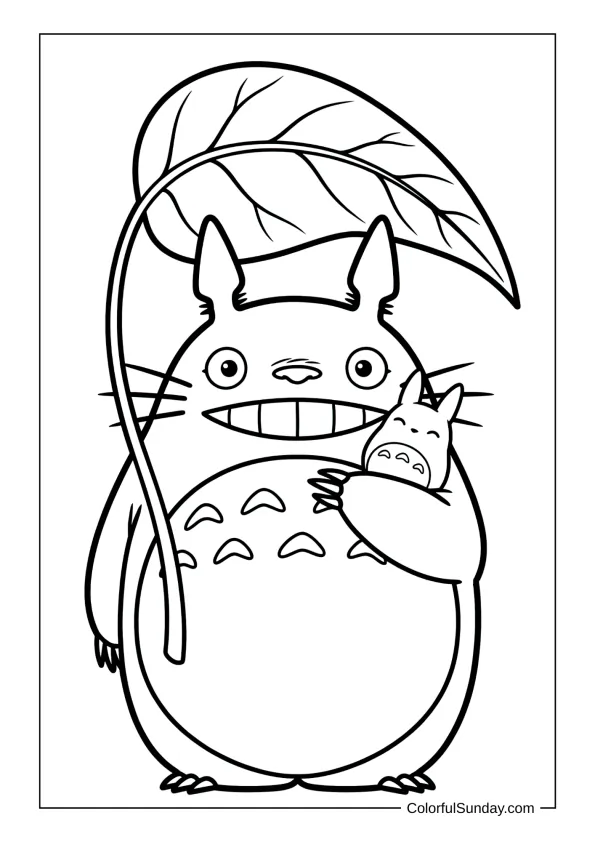
My Neighbor Totoro(44 Pages)
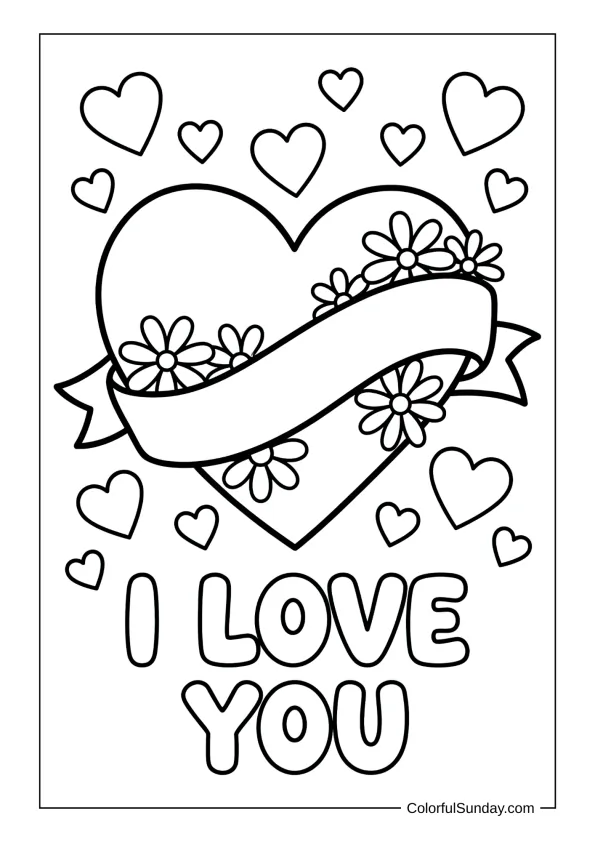
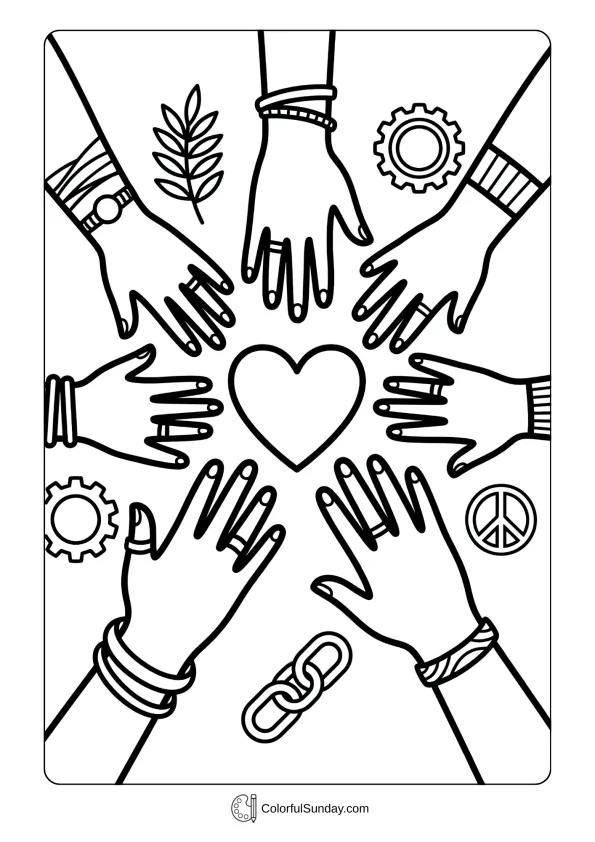
I Love You(58 Pages)
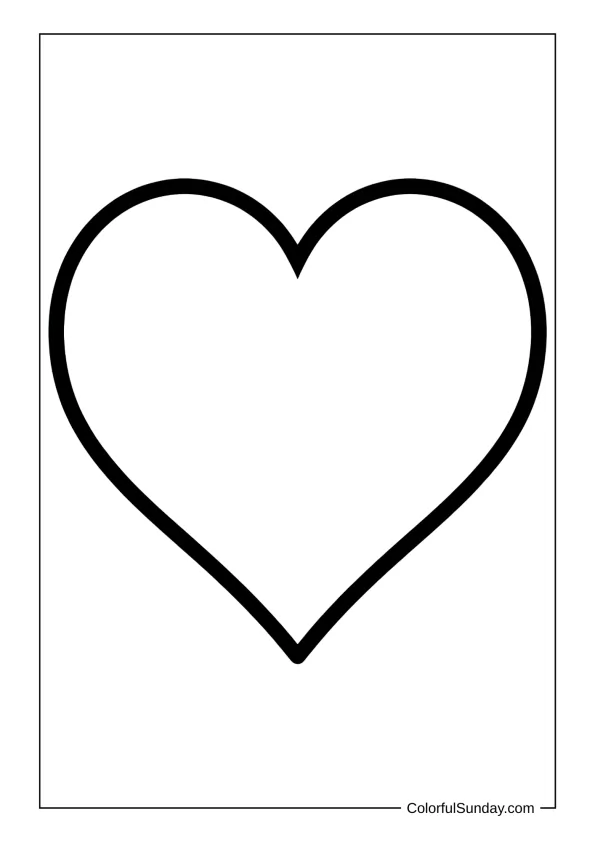
Heart(99 Pages)
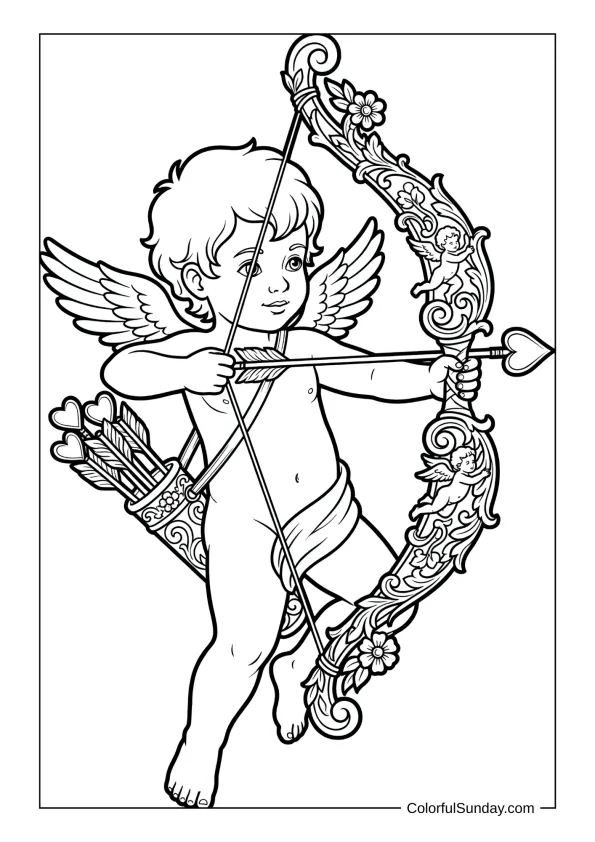
Cupid(54 Pages)
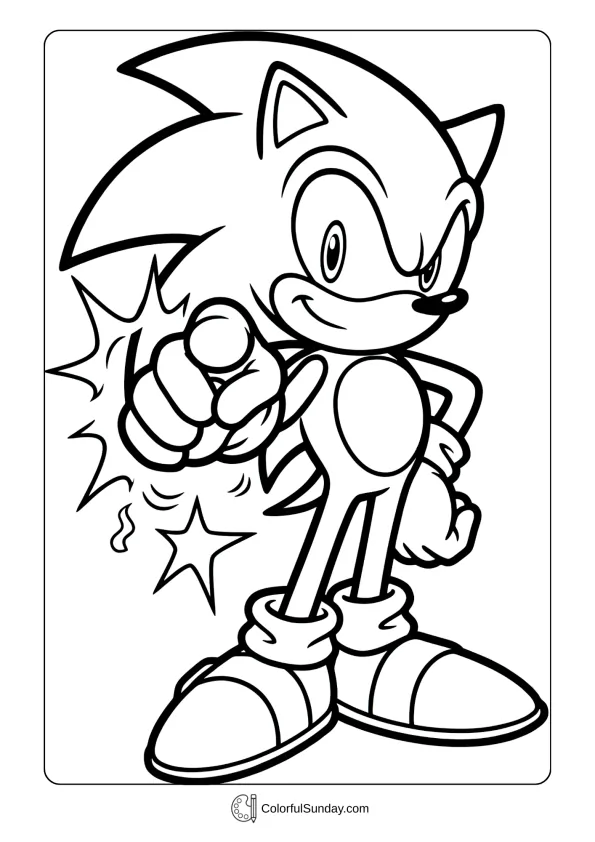
Sonic(82 Pages)
March Madness(26 Pages)
Women’s Day(52 Pages)
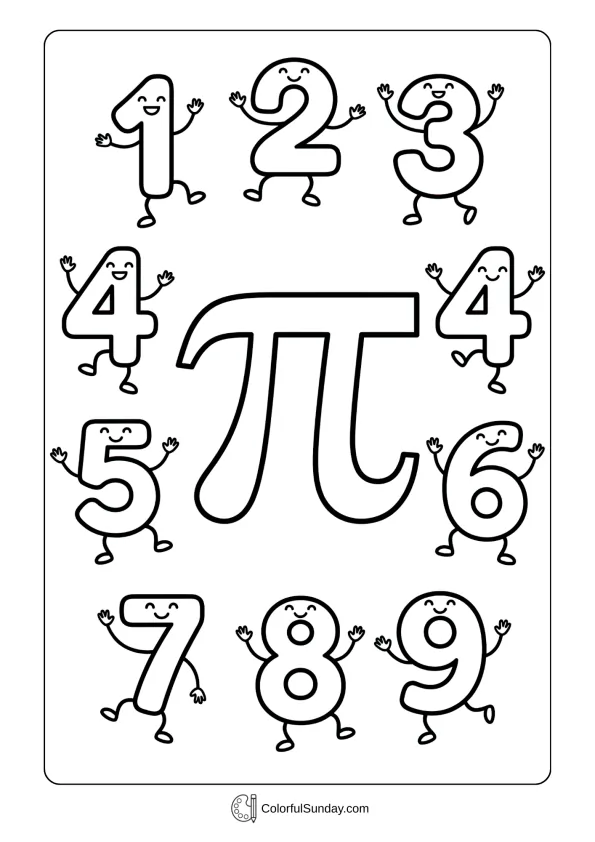
Pi Day(32 Pages)
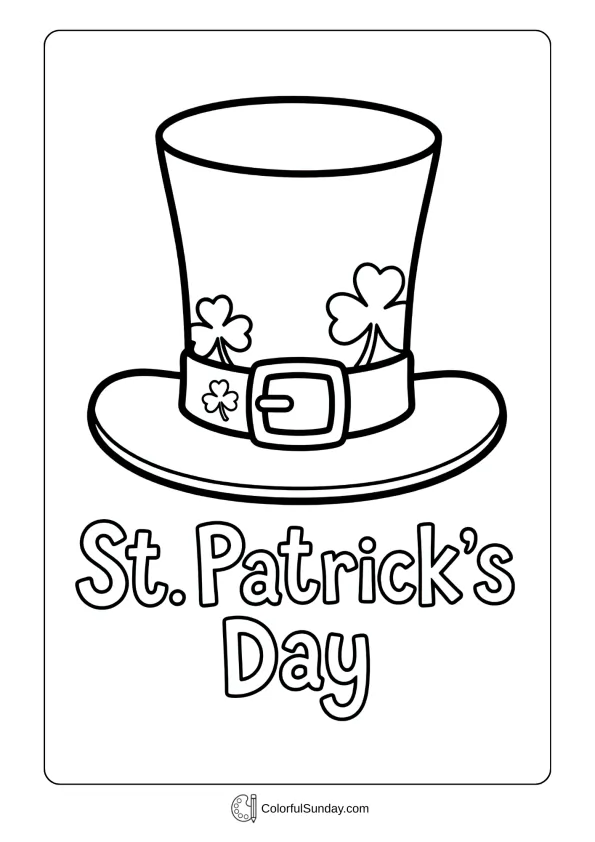
St. Patrick’s Day(52 Pages)
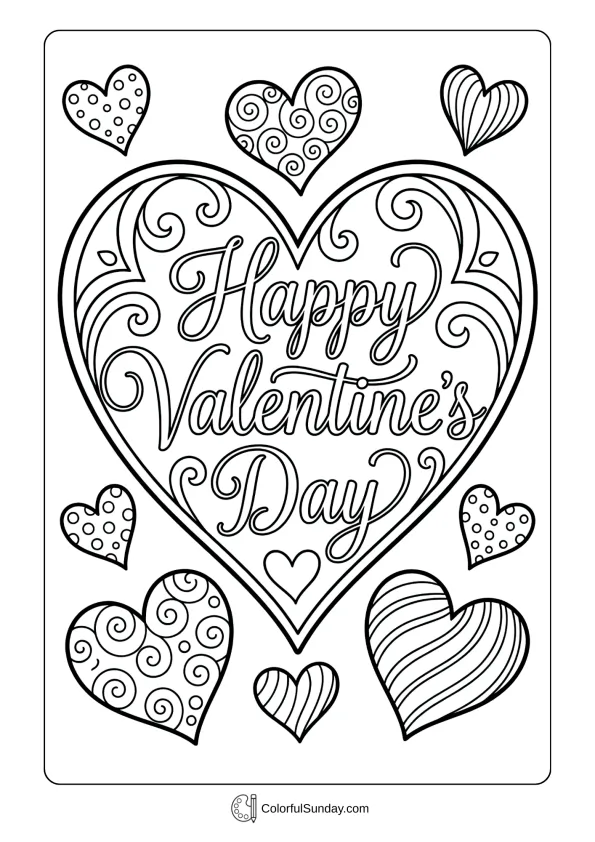
Valentine’s Day(62 Pages)
Chinese New Year(32 Pages)
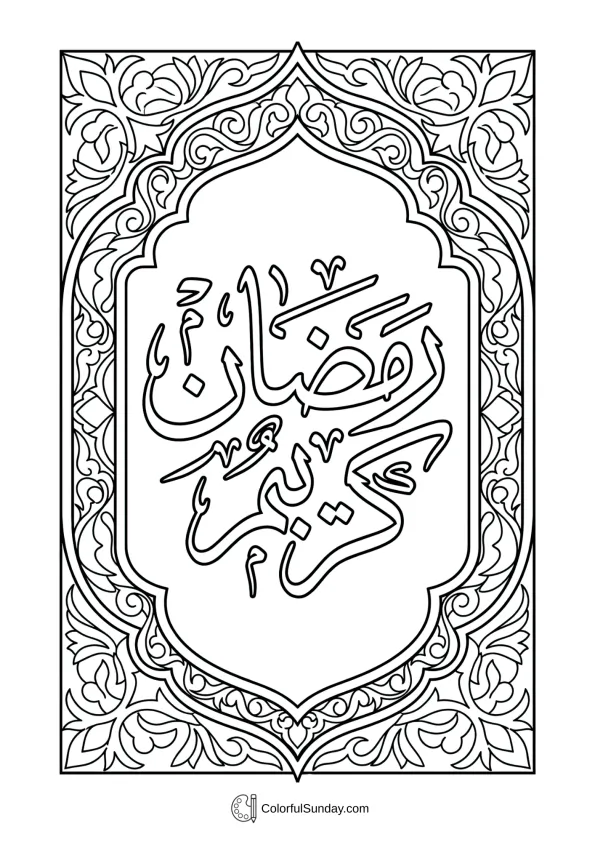
Ramadan(27 Pages)
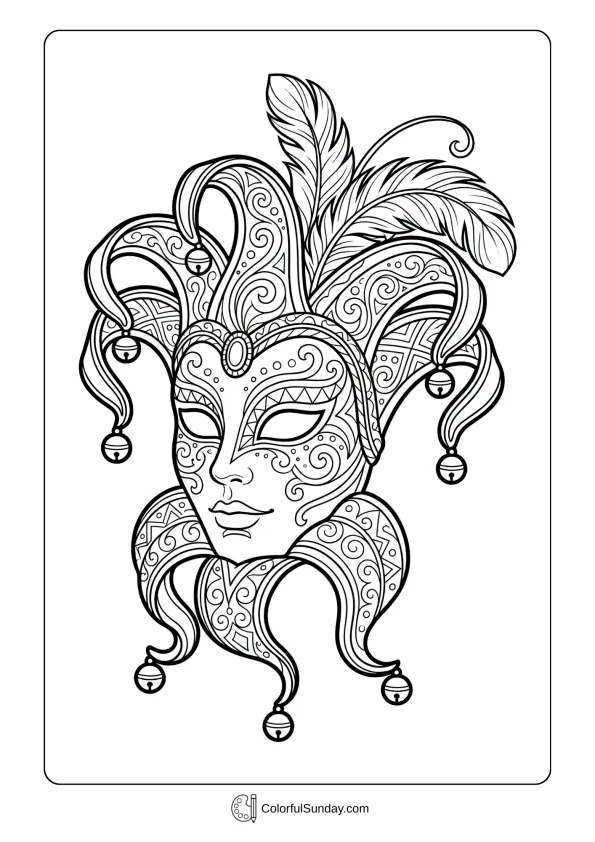
Mardi Gras(34 Pages)
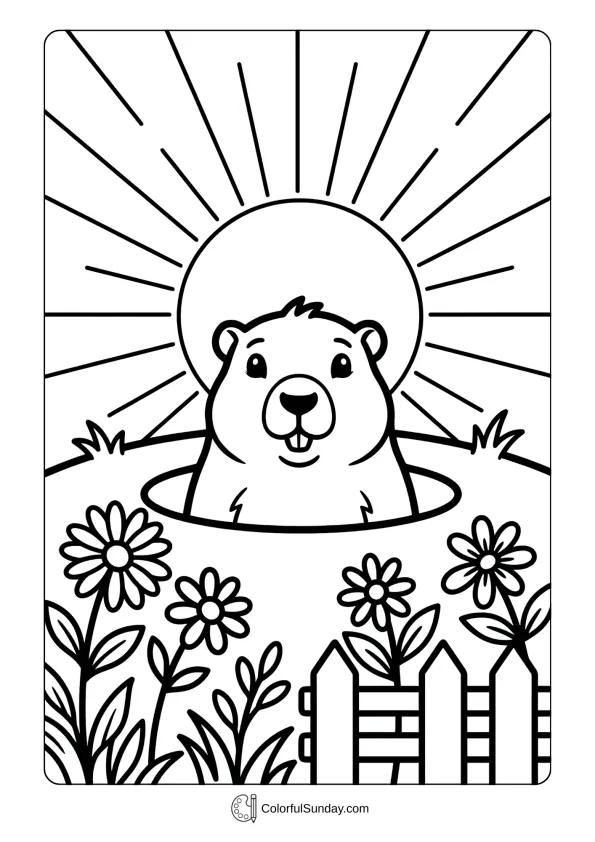
Groundhog Day(30 Pages)
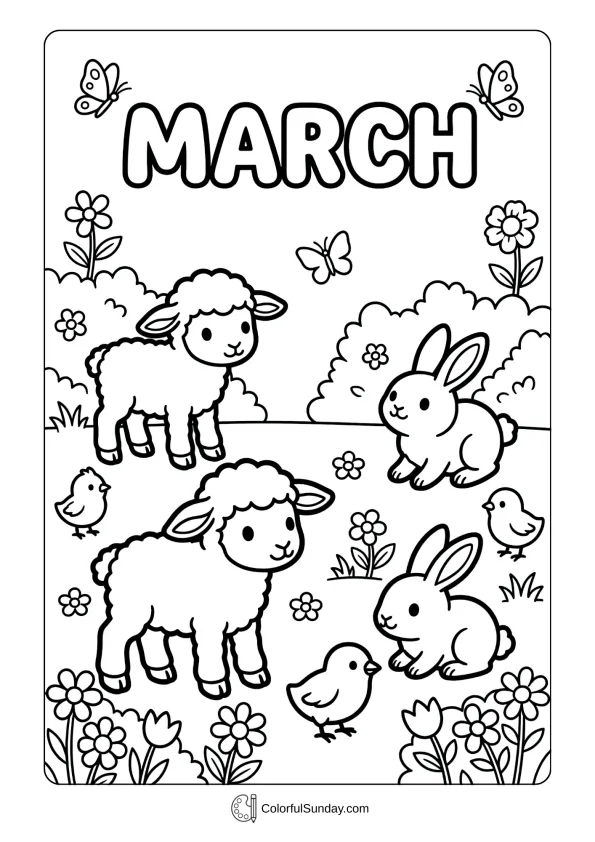
March(28 Pages)
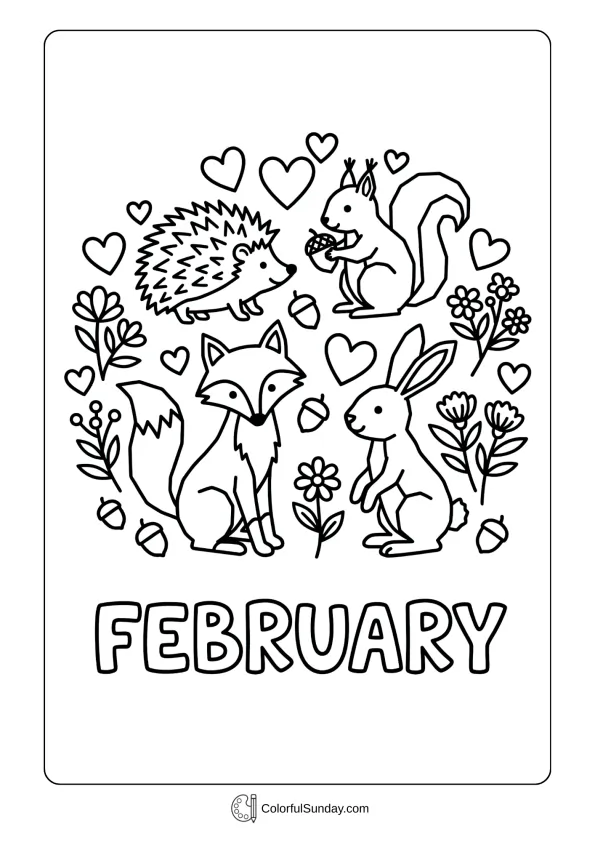
February(29 Pages)

Holi(41 Pages)
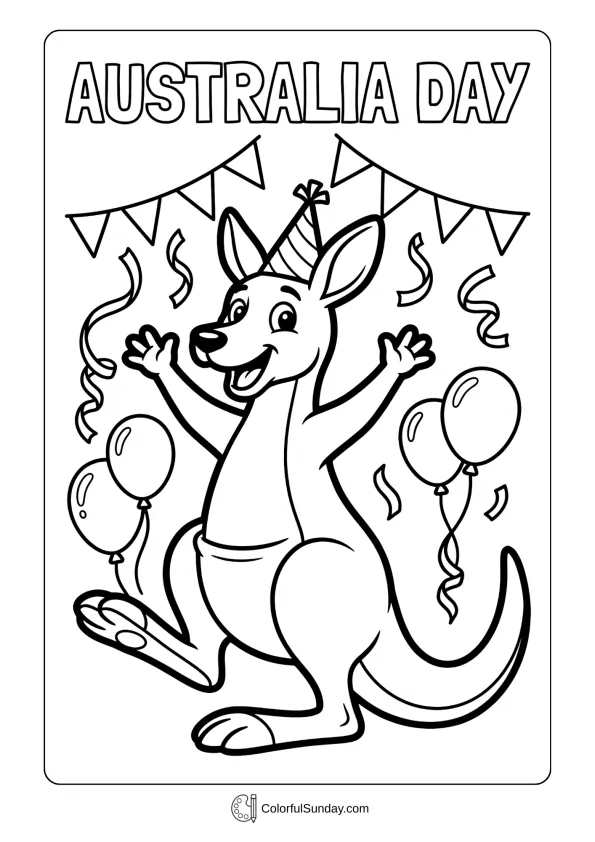
Australia Day(26 Pages)
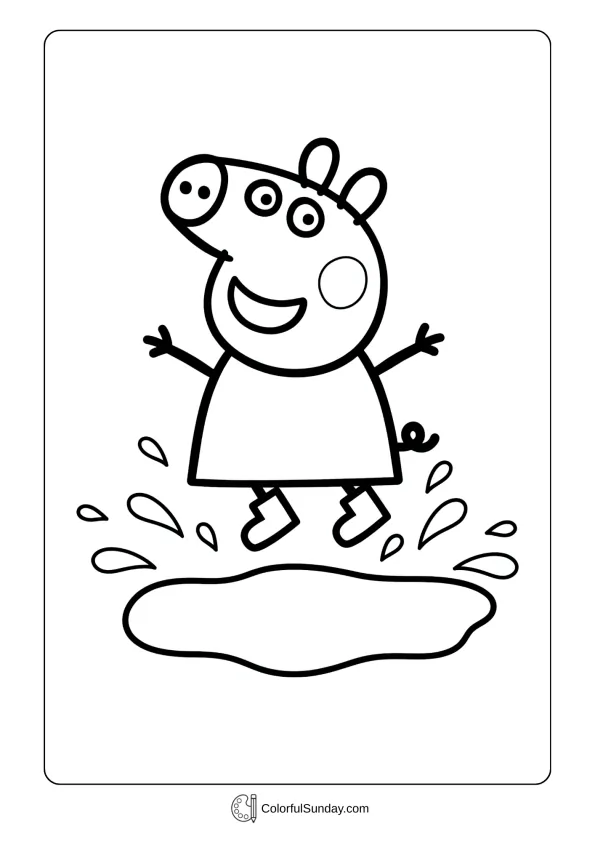
Peppa Pig(47 Pages)
Cute(349 Pages)

Clarinet(27 Pages)
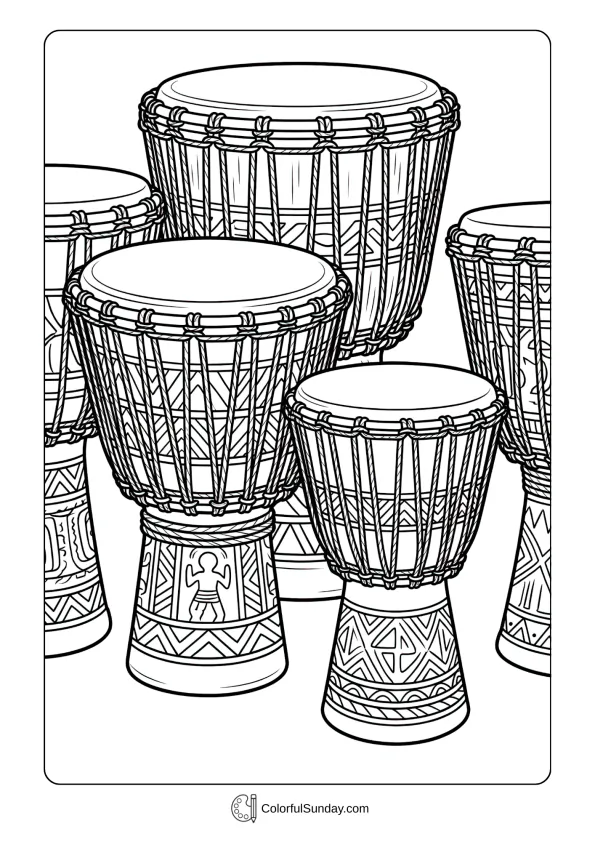
Drums(40 Pages)

Saxophone(57 Pages)

Hello Kitty(46 Pages)
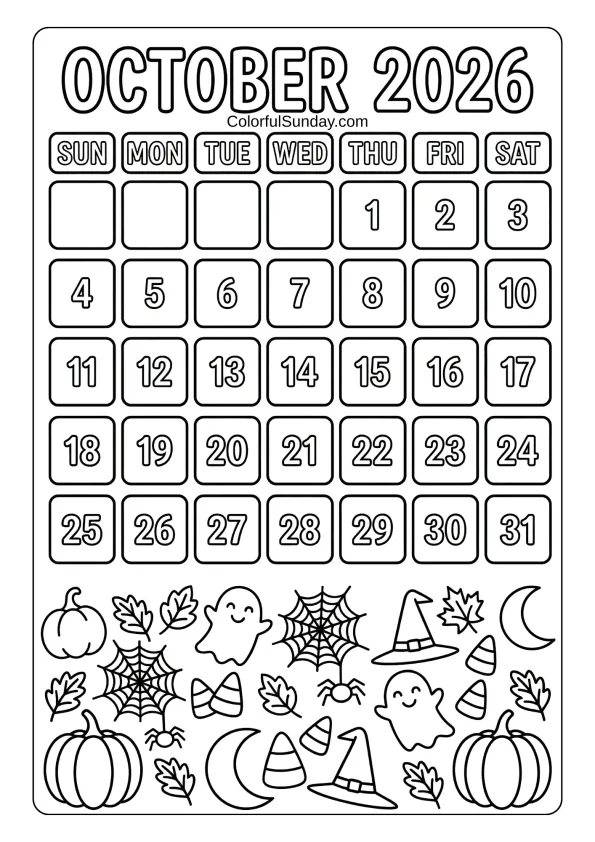
Calendar(2026 Pages)

Happy New Year(32 Pages)
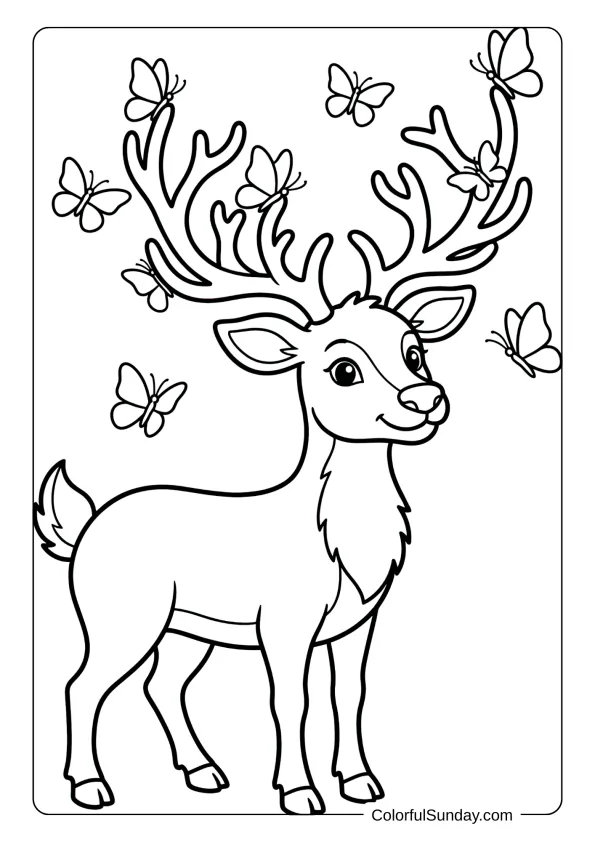
Reindeer(45 Pages)
Disney Christmas(92 Pages)

Christmas Pokémon(27 Pages)
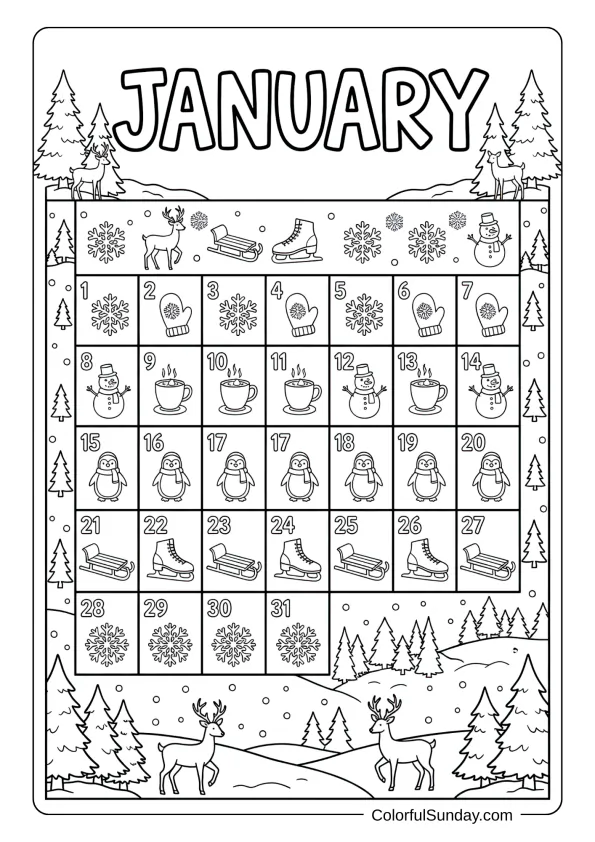
January(30 Pages)
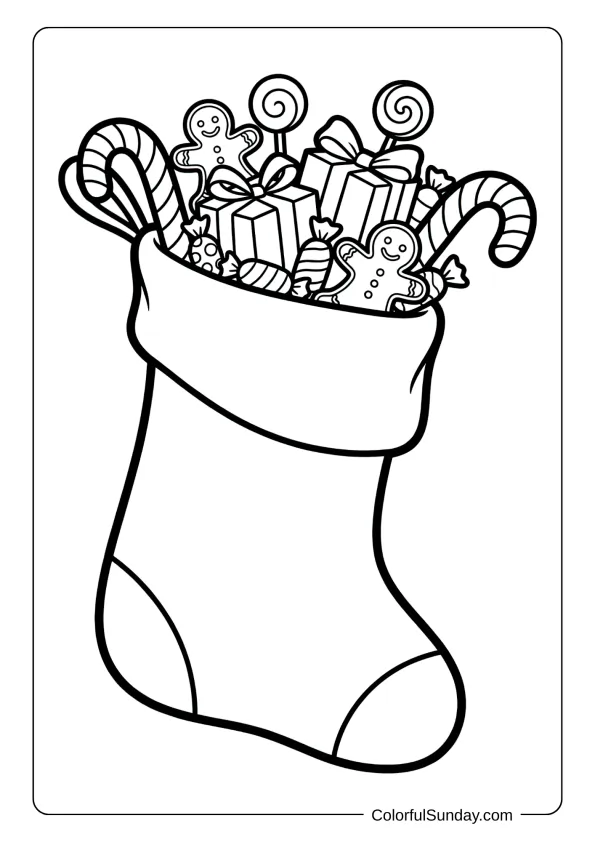
Christmas Stocking(30 Pages)
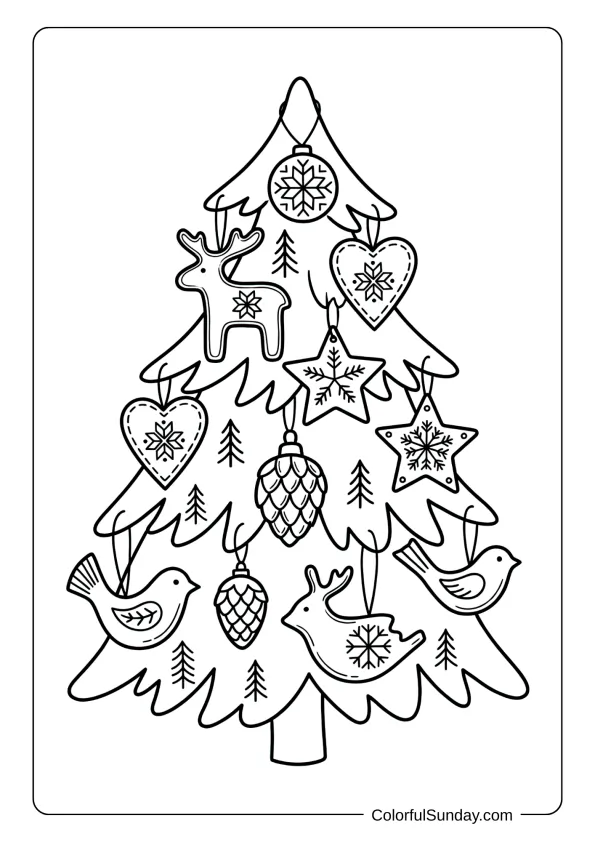
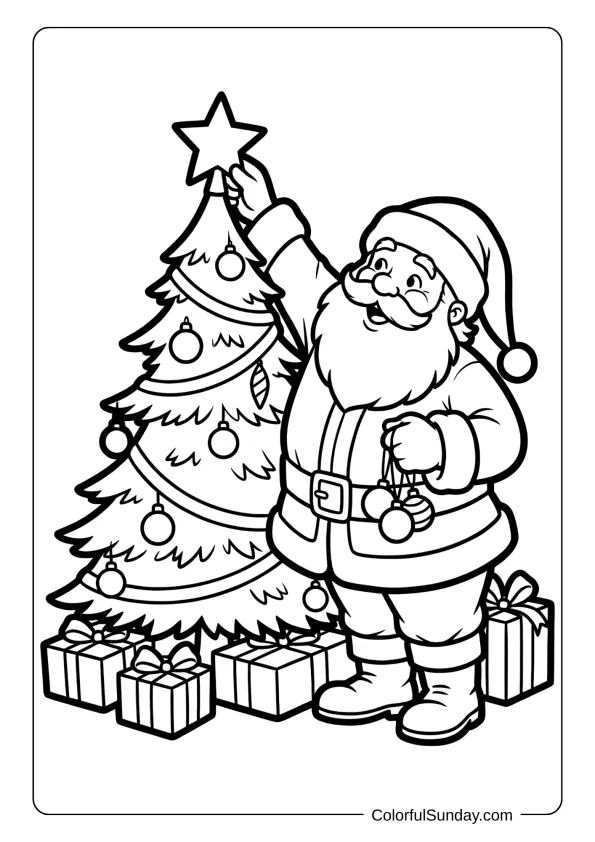
Christmas Tree(46 Pages)
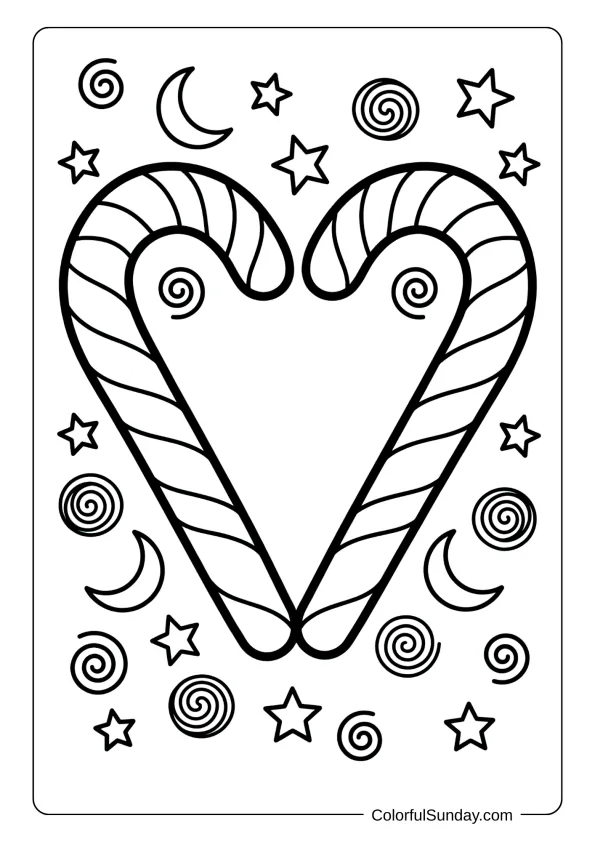
Candy Cane(40 Pages)

Angel(42 Pages)
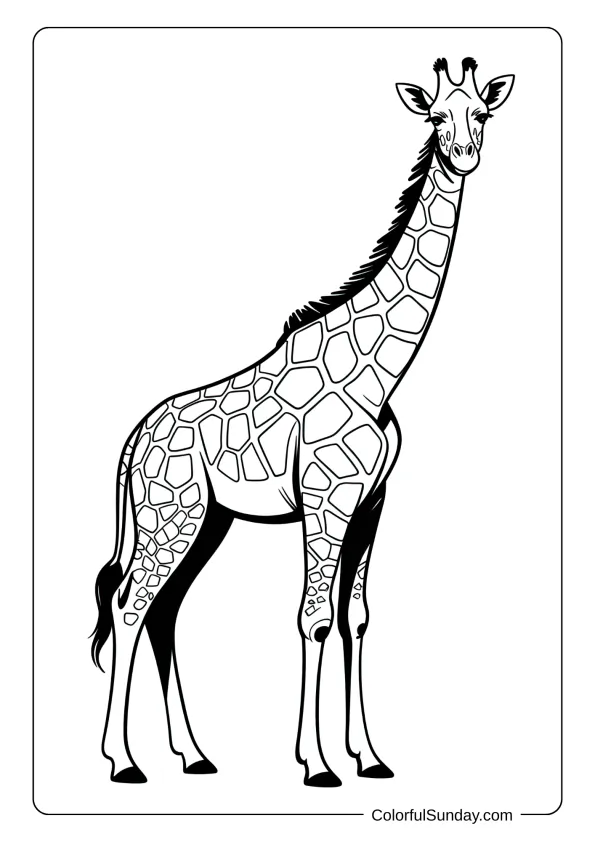
Giraffe(35 Pages)

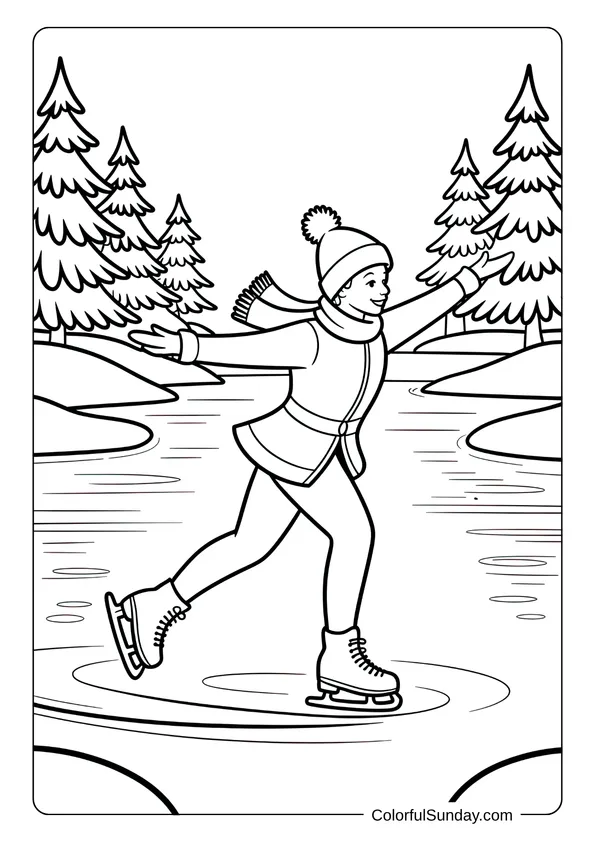
Winter(44 Pages)
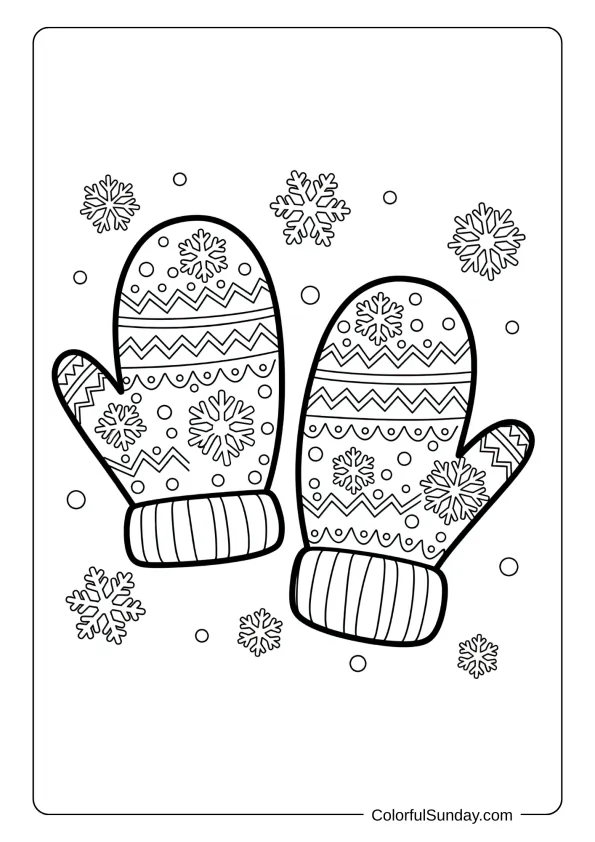
Mittens(30 Pages)
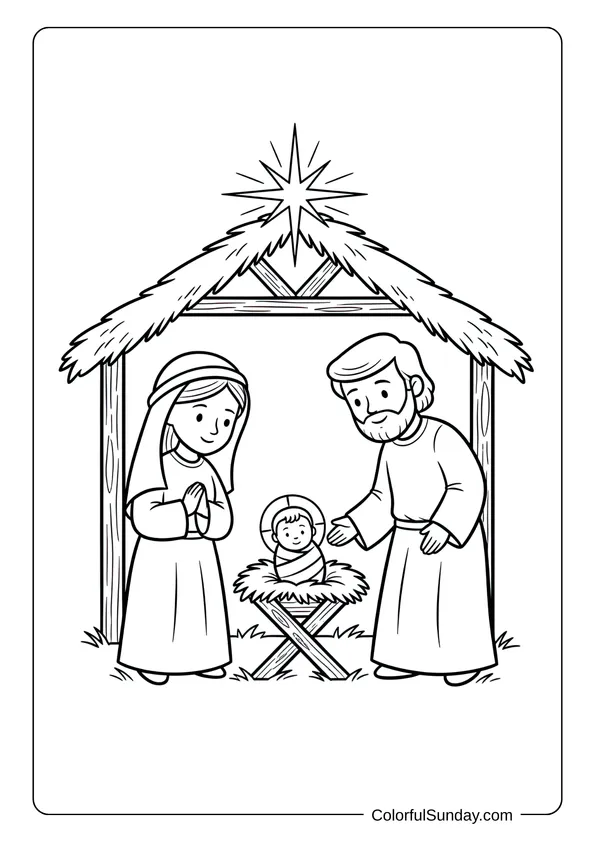
Nativity(25 Pages)
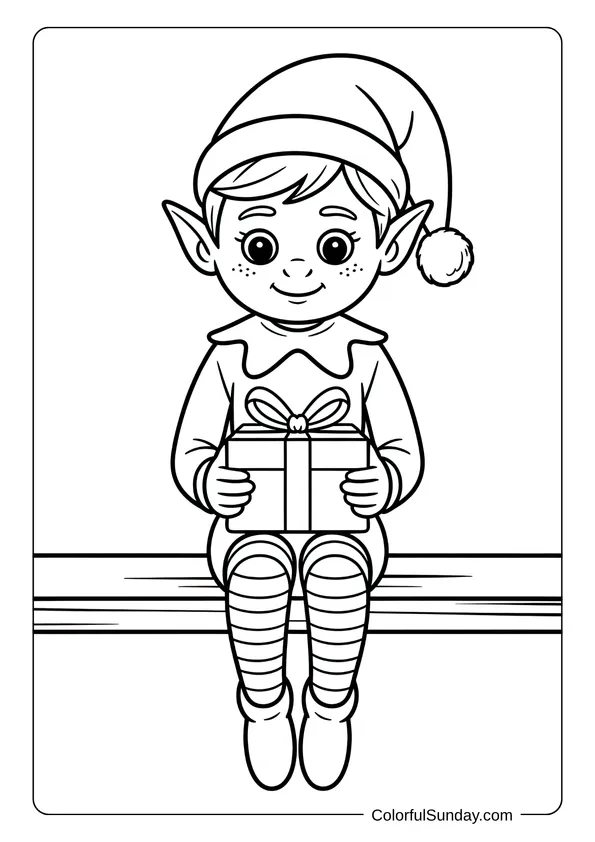
Elf on the Shelf(44 Pages)

Christmas Wreath(50 Pages)
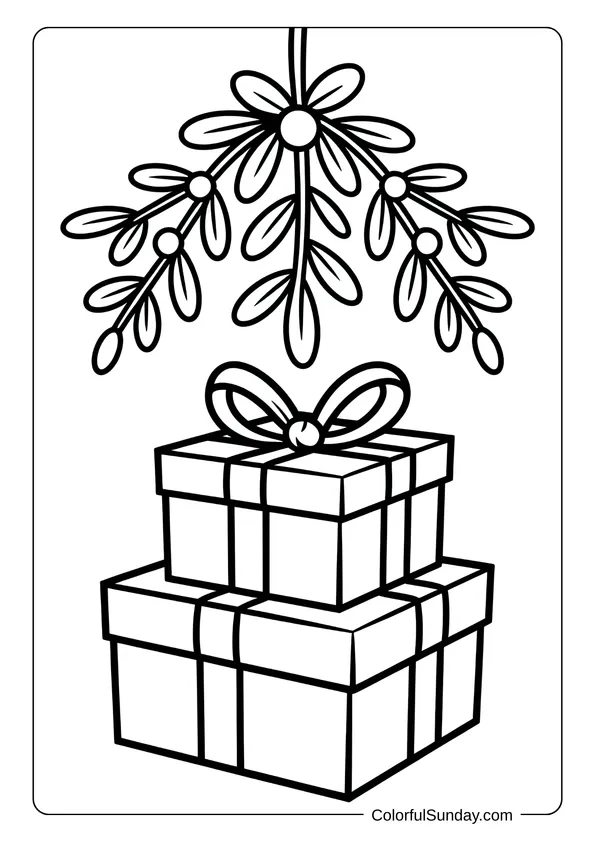
Christmas Present(31 Pages)
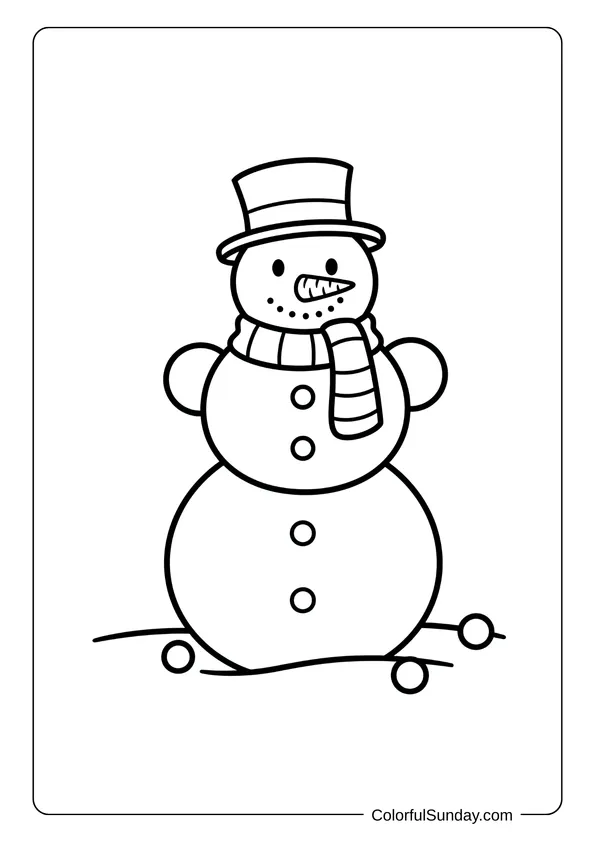
Snowman(47 Pages)

Rudolph(24 Pages)
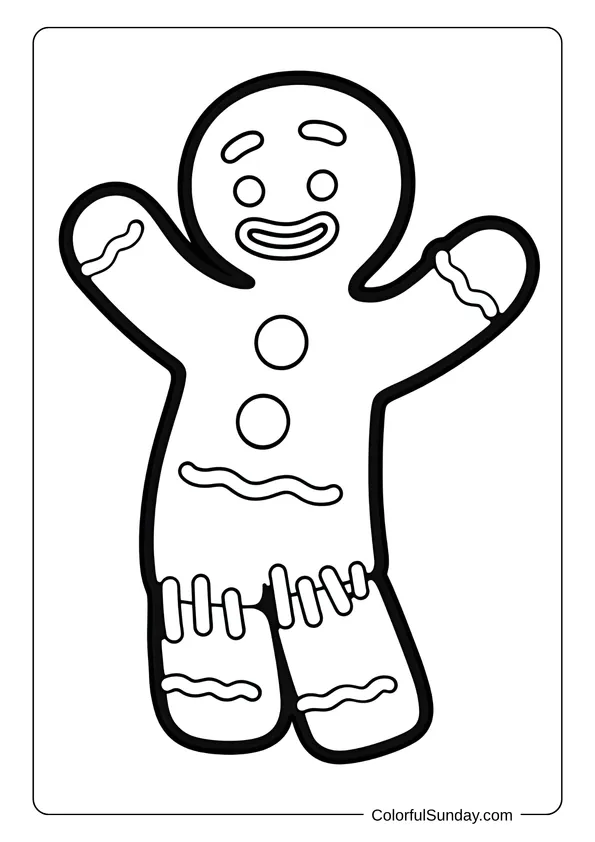
Gingerbread Man(30 Pages)

Gingerbread House(35 Pages)
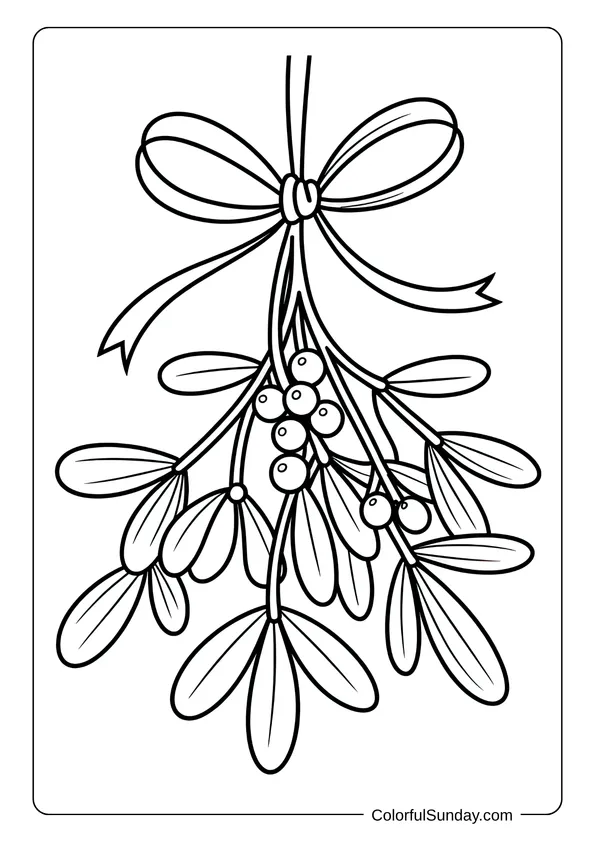
Mistletoe(24 Pages)
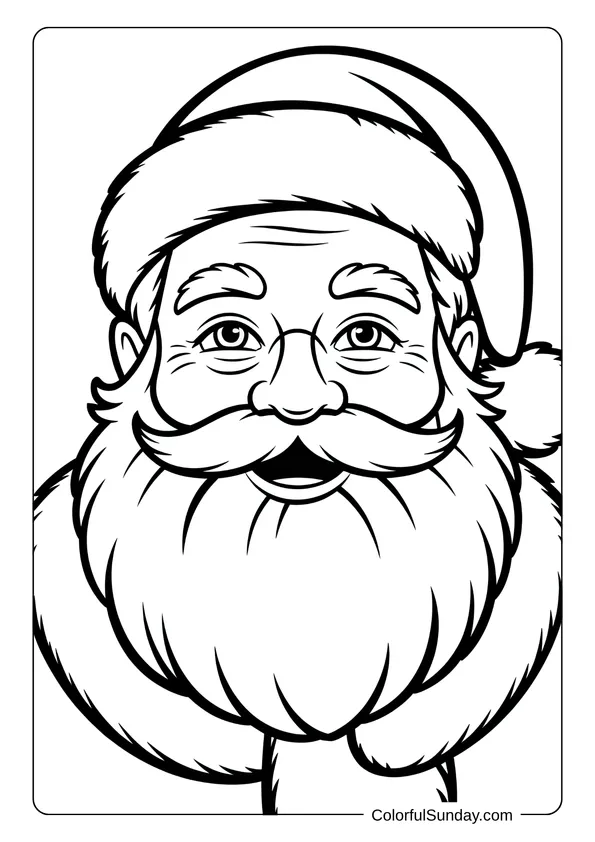
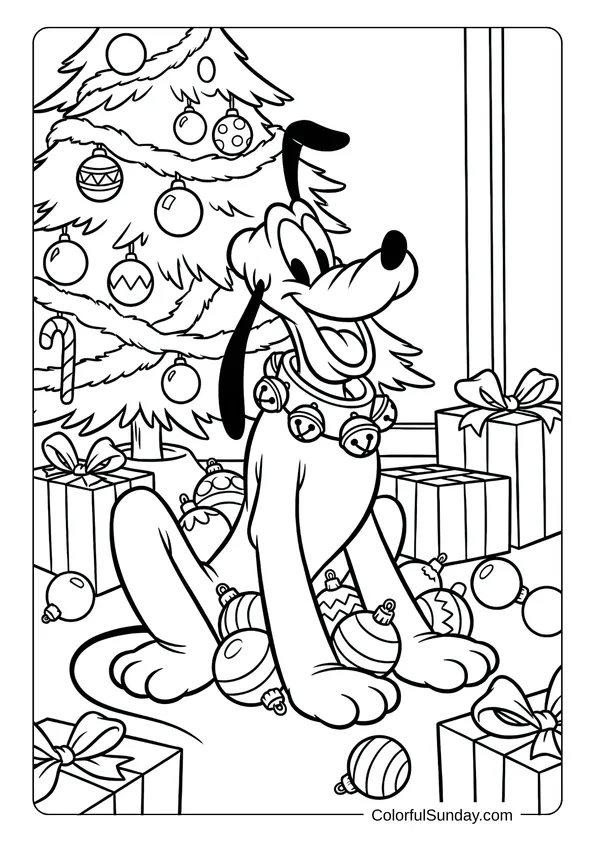
Santa Claus(88 Pages)
December(34 Pages)
Christmas(890 Pages)
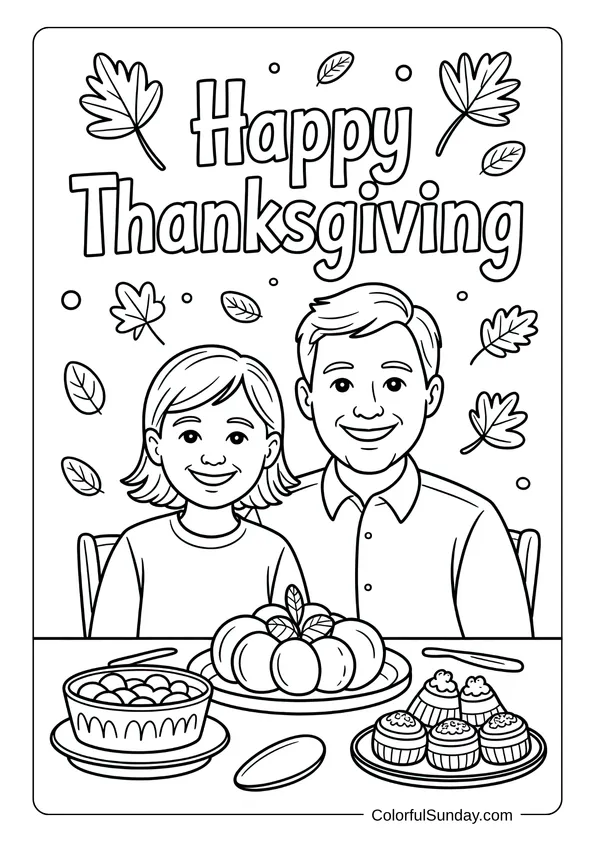
Thanksgiving(23 Pages)
Kawaii(55 Pages)

Bonfire Night(30 Pages)
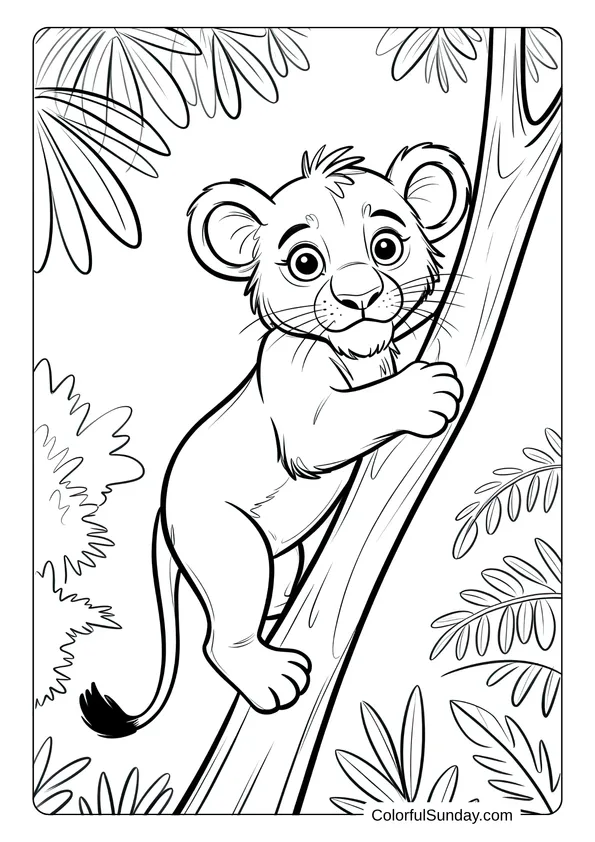
Lion(35 Pages)
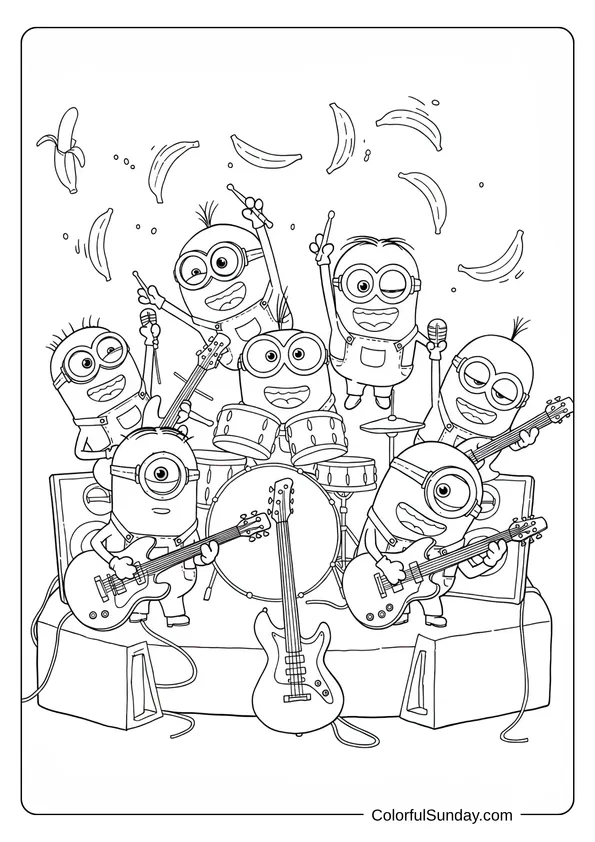
Minions(60 Pages)

November(35 Pages)

Halloween(100 Pages)
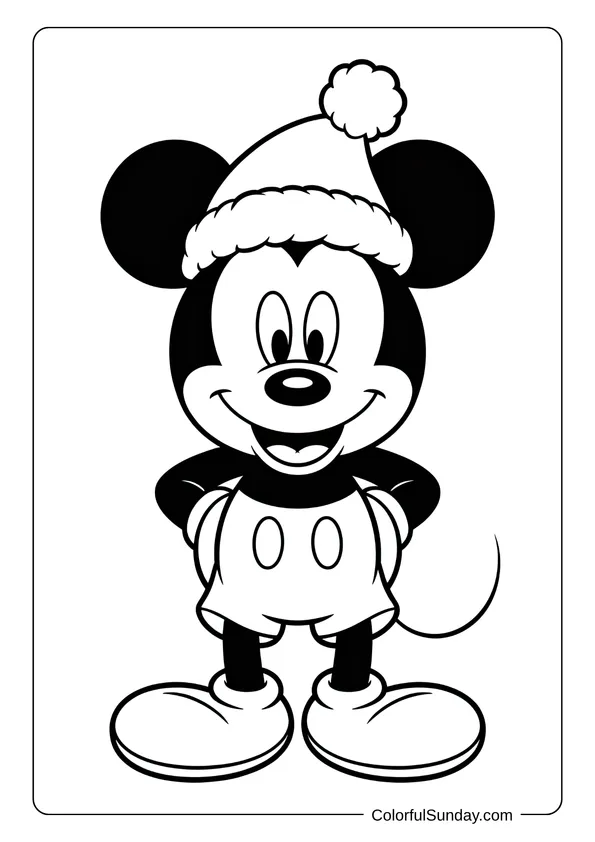
Mickey Mouse(60 Pages)
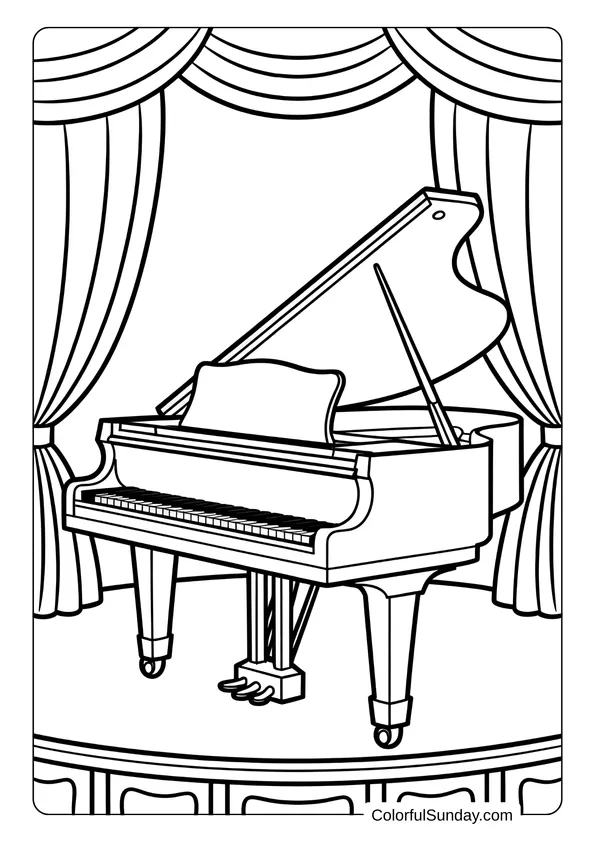
Piano(37 Pages)
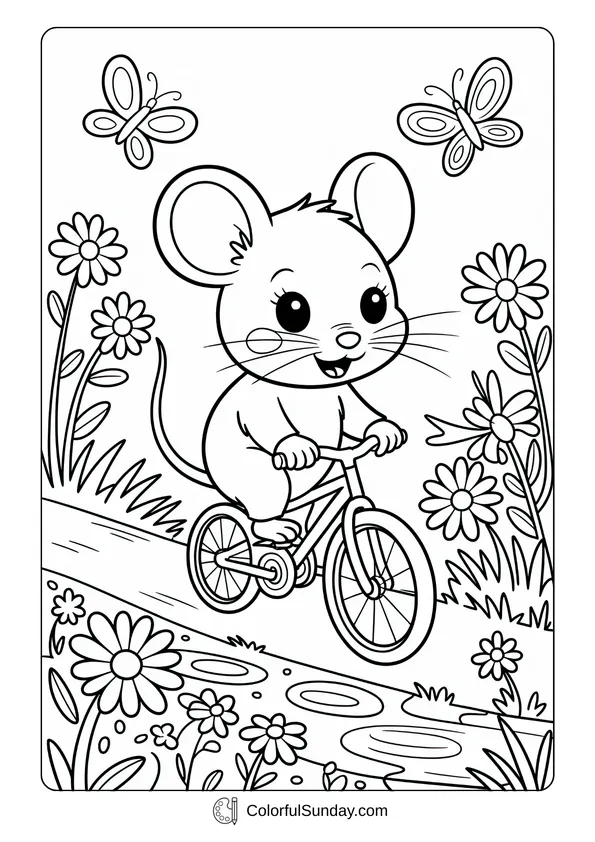
Cute Mouse(40 Pages)
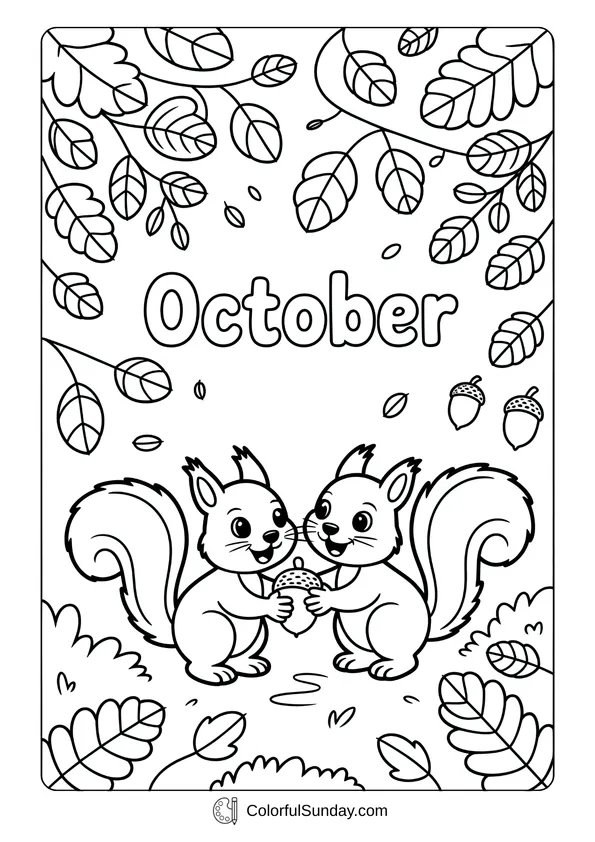
October(35 Pages)

Autumn(32 Pages)
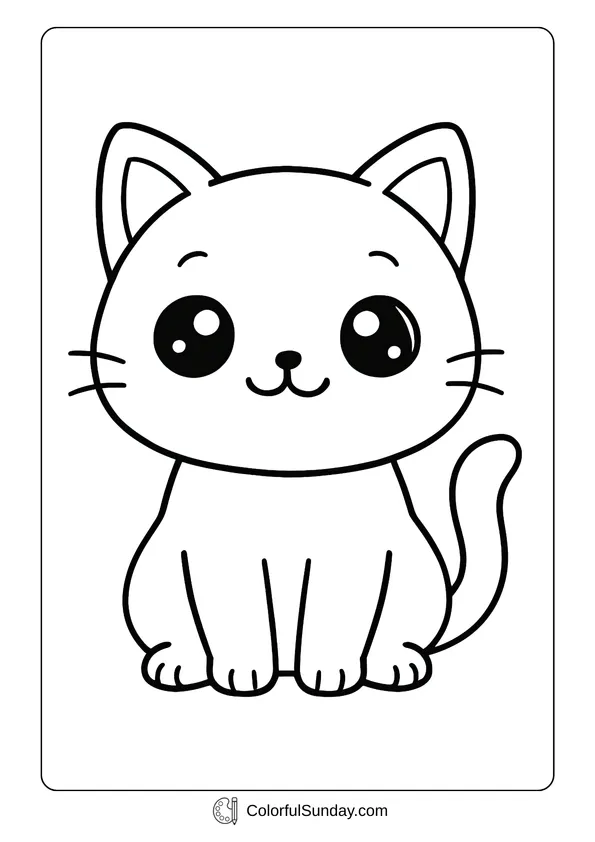
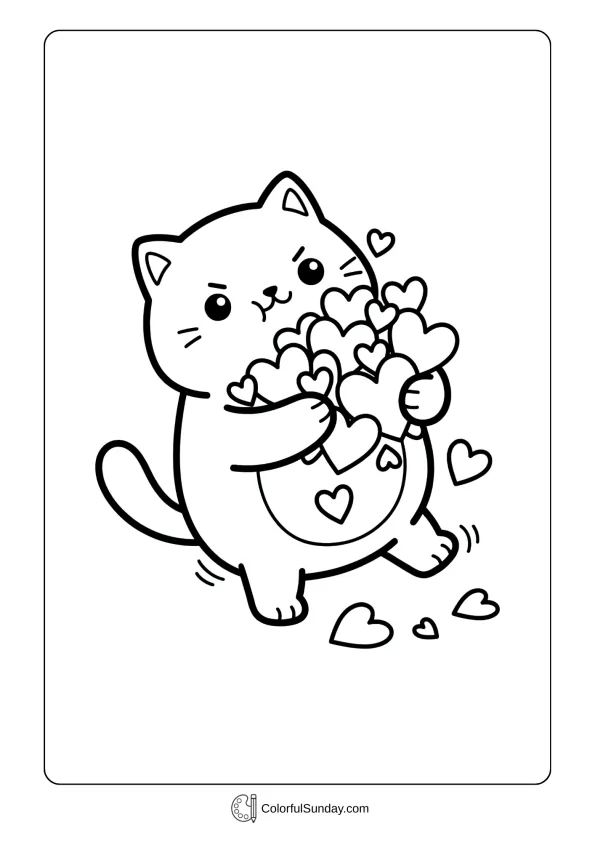
Cute Cat(53 Pages)
Pokémon(63 Pages)
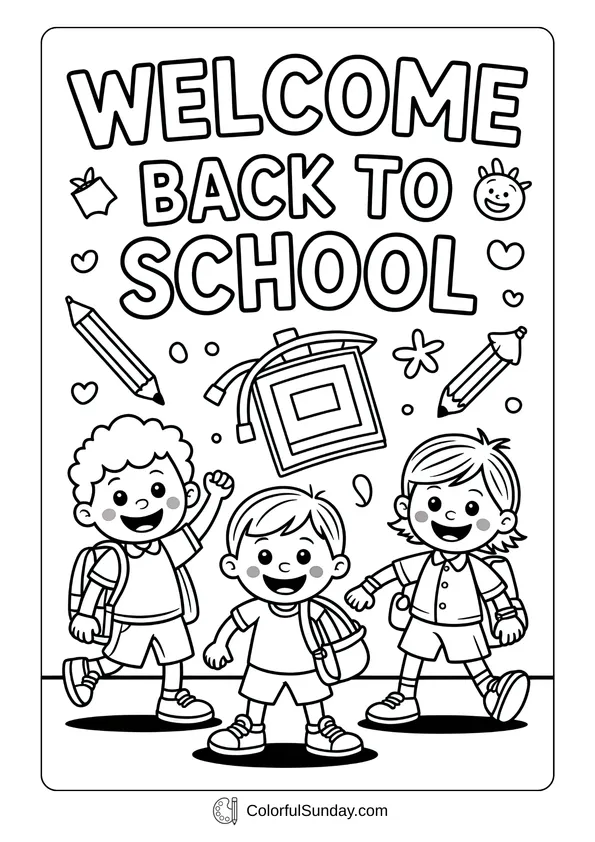
Back to School(23 Pages)

Super Cute(60 Pages)

Cute Puppy(37 Pages)
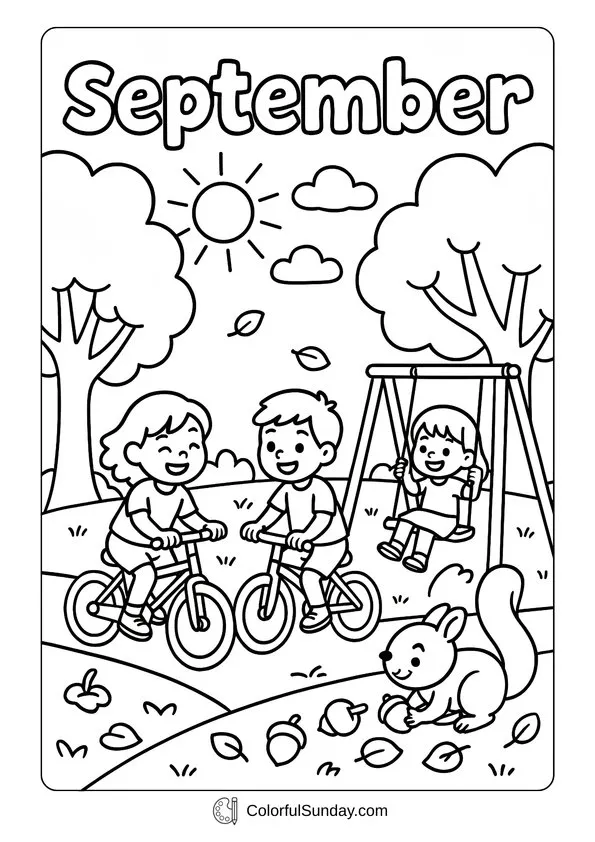
September(39 Pages)

Laptop(32 Pages)

August(26 Pages)

Cute Bear(38 Pages)

Cute Bunny(36 Pages)

Doge(32 Pages)

Acoustic Guitar(20 Pages)

Zimomo(42 Pages)

Yaya(42 Pages)
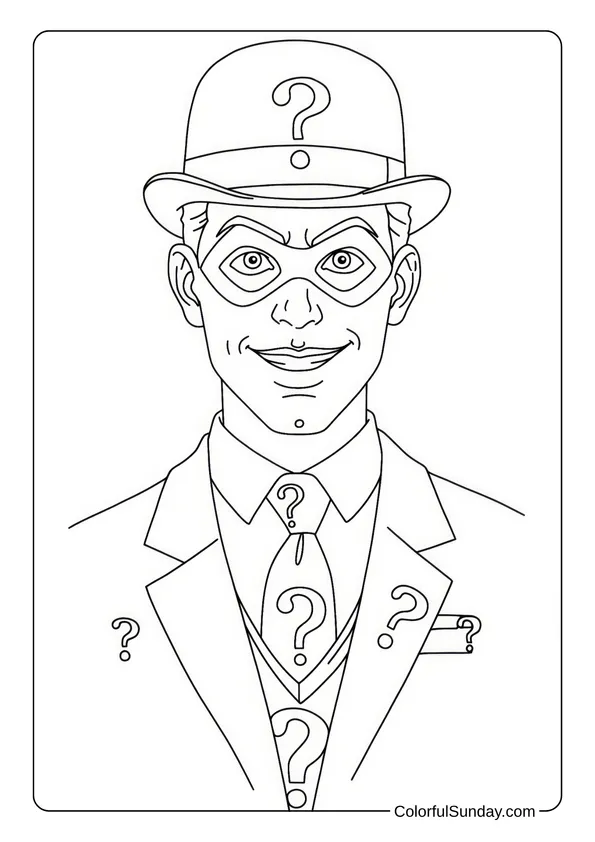
The Riddler(32 Pages)
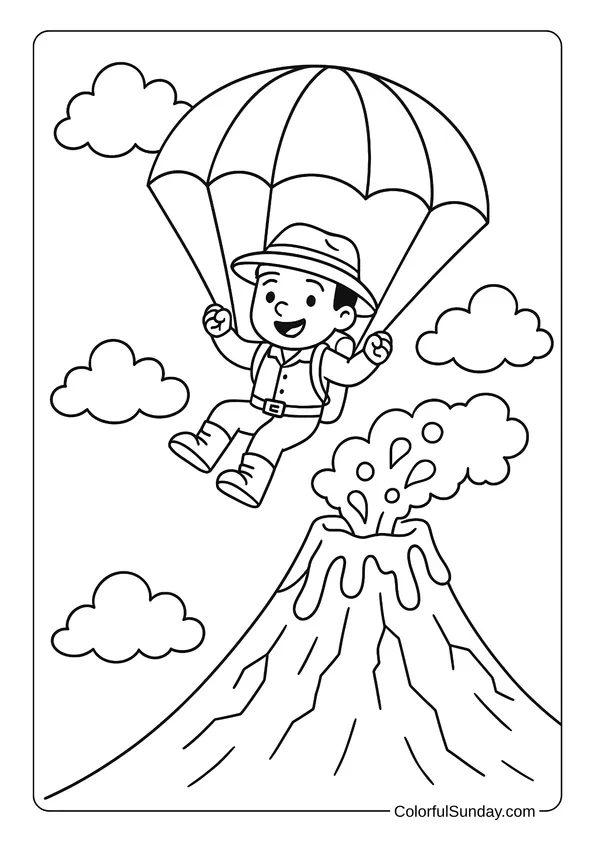
Parachute(35 Pages)
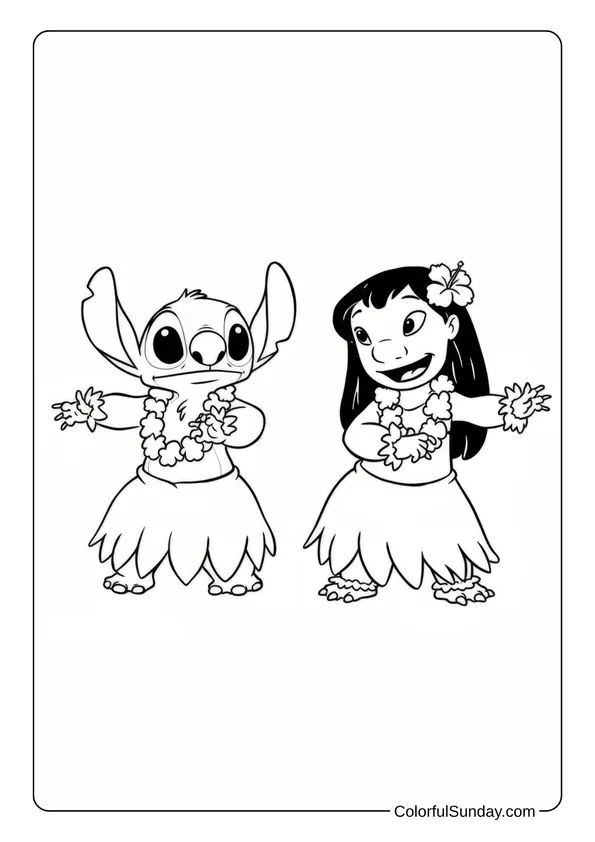
Lilo & Stitch(50 Pages)

July(22 Pages)
Labubu(30 Pages)
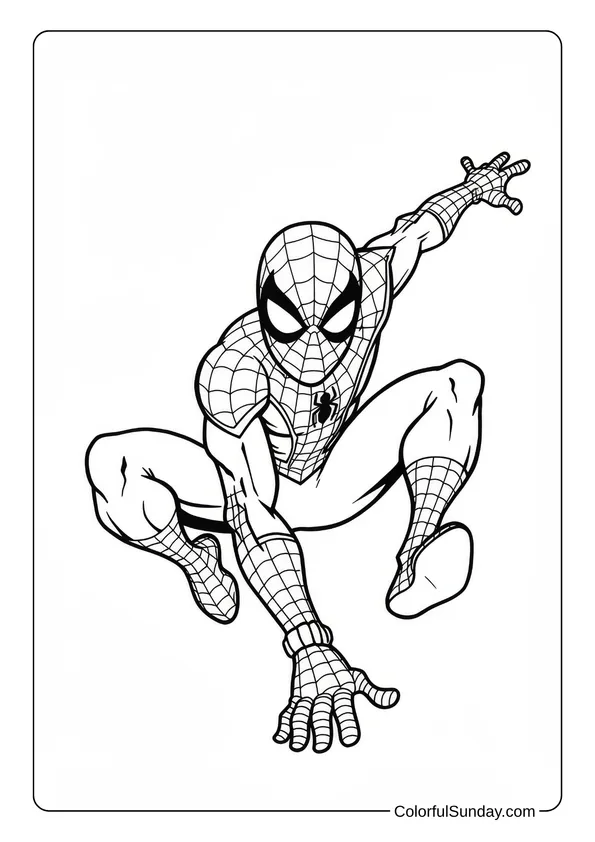
Spider-Man(40 Pages)
Batman(34 Pages)
Too overwhelming? Try a more specific search:
30 Craft Ideas You Can Do With These Coloring Pages
Do you have finished coloring pages piling up, or want a fresh way to use them?
Here are 30 fun and creative ways to turn those printables into crafts kids can use, wear, play with, or gift.
1. Paper Bead Bracelets
If kids love jewelry, this craft turns a finished coloring page into something they can actually wear. It also uses up those “too pretty to toss” sheets in a fast, satisfying way.
First, cut long, skinny triangles from the colored page. Make them about 8–10 inches long, with a wide end that is about 1 inch across.
Next, wrap the wide end around a skewer or toothpick. Kids should roll tight as they go, then add a tiny dot of glue at the tip to lock the bead in place.
After the beads dry, brush on a thin coat of Mod Podge or clear-drying glue for shine and strength. String the beads on elastic, tie a double knot, and it’s bracelet time!
2. Suncatcher Window Art
This craft makes kids feel like their coloring page turned into real window magic. It works best with bold shapes, like hearts, stars, or big character outlines. Heart designs work especially well here.
You’ll need clear contact paper (or laminating sheets), tissue paper, and scissors. As the adult, cut the main shape from the colored page, leaving a thick border so it stays sturdy.
Lay one sticky sheet on the table, sticky-side up. Kids can tear tissue into small bits and press them inside the open space, mixing colors like a tiny collage.
Then place a second sticky sheet on top to seal it. Trim the edges, punch a hole, and hang it with ribbon in a sunny window. The light does the rest!
3. Desk Name Plates
If you need a quick classroom win, turn coloring pages into desk name plates. Kids feel proud when their name sits next to their own art (and it helps with seating charts, too). Cute designs make bright name plates.
Start with a piece of cardstock folded in half the long way, like a little tent. Cut a rectangle from the finished coloring page that fits the front of the tent. Glue the rectangle onto the cardstock and smooth it flat.
Then write the child’s name in thick marker across the front, right on top of the art. For extra strength, add clear packing tape over the whole front panel, then trim the edges. These survive pencil taps and snack time.
4. Door Hangers for Bedrooms and Classrooms
Kids love having their own “space,” and a door hanger makes that feel official. This is a great craft for quiet time, and it turns one page into a keepsake that gets used every day.
Pick a finished coloring page with a big central image. Cut the page into a long rectangle, then trim the top into a rounded shape. As the adult, cut a hole near the top for the door knob.
Kids can write messages like “Reading,” “Nap Time,” or “Art in Progress” on the front. Seal it with lamination or clear contact paper if you want it to last. Add yarn tassels at the bottom, and the hanger looks fancy fast.
5. Party Crowns
This one is perfect for birthdays or pretend play, and it feels extra special because kids wear their own art. Choose a coloring page with patterns that look good wrapped around a head, like stars, hearts, or repeating shapes.
Cut two long strips from the colored page. If one strip is not long enough, tape two together on the back. Measure around the child’s head, then overlap the ends and staple or tape.
Finish by cutting zig-zags or points along the top. Kids can glue on paper “gems” made from leftover scraps. Now they can rule the living room, legally.
6. Cone Party Hats
Cone hats bring instant party energy. Kids wear them like they are part of a parade.
Trace a big circle on the finished coloring page and cut it out. Use a dinner plate as a guide. Glue the page onto cardstock first if you want it stronger.
Cut one straight line from the edge to the center. Overlap the cut edges to form a cone and tape the seam.
Punch a hole on each side and tie elastic or yarn for a chin strap. Tie it in a loose loop so it fits and stays comfy.
Add a tissue pom-pom or paper fringe on top, then write the child’s name on the back. Done!
7. Craft-Stick Puppets
Puppets turn coloring time into story time, which is a win for parents and teachers. Kids can act out a scene, make up voices, and keep busy without screens.
Have kids color a page with one main character, then cut that character out. Leave a small tab at the bottom if you can, because it gives more space for glue.
Flip the cutout over and glue a craft stick to the back. If the paper feels thin, glue the character onto cardstock first, then cut it out again.
Want moving arms? Cut the arms off, then reattach them with paper fasteners (brads). It takes two minutes and kids act like you invented robots.
Set up a “stage” with a cereal box, and the puppet show begins.
8. Finger Puppets
Here’s a small craft with a big payoff. Finger puppets are quick, they use tiny scraps, and kids can keep them in a pencil case for emergencies (like waiting rooms).
Pick small characters or animals on a finished page and color them in. Cut them out, leaving a little extra paper around the edges so the puppet is not too fragile.
Cut a strip of paper from the same page, wrap it around the child’s finger, and tape it into a ring. Then glue the character on top of the ring.
If you have time, add a second ring behind it for more support. Suddenly kids have a whole “finger family,” and your day gets louder in a fun way.
9. Clothespin Character Clips
This craft turns a plain clothespin into something kids actually want to use. Clips work as bag closers, note holders, or tiny “helpers” that live on a desk.
Have kids color and cut out a character head or small object from the page. Keep it about the size of the clothespin top so it does not bend. Paint the clothespin with acrylic paint, or wrap it in washi tape if you want less mess.
When it dries, glue the cutout onto the top jaw of the clothespin. Add googly eyes or a little speech bubble that says “Hi!” Then clip it on homework, snack bags, or art drying lines. Kids act like their lunch has a pet.
10. Pencil Wraps and Pen Sleeves
If kids always lose pencils, this trick helps. A bright pencil wrap makes a plain pencil easy to spot, and it feels like a custom “tool” instead of boring school stuff.
Cut a thin strip from a colored page, about the length of a pencil. Wrap it around the pencil in a spiral, then tape the ends down tight.
For a smoother look, brush a little Mod Podge over the wrap and let it dry. No Mod Podge? Cover the wrap with clear packing tape and trim the edges.
Kids can write initials on the wrap with marker before you seal it. This also works on markers, glue sticks, and scissors.
Suddenly the supply box looks coordinated, and kids treat it like a real art kit.
11. Paper Lantern Shades
This craft looks fancy, but it’s mostly cutting and taping. Use it for a party table, a night-light corner, or a cozy reading nook. Christmas themes look great when the light shines through.
Have kids color a page with patterns that repeat, because the design will wrap around. Cut the page into a rectangle that fits around a clean glass jar or plastic cup.
Tape the rectangle into a tube and slide it around the jar. If you want the light to peek through, cut simple shapes out of the paper first, like stars or hearts.
As the adult, place a battery LED tea light inside the jar (no real flames!). Turn it on, dim the room, and watch kids stare like it’s wizard work.
12. Wind Spinner Pinwheels
Pinwheels are pure joy. They also give kids a reason to run outside, which is always helpful. Start with a square cut from a finished coloring page. Bigger squares make bigger pinwheels, so aim for at least 6×6 inches.
Cut diagonals toward the center, but stop about an inch before you reach it. Fold every other corner into the center and hold them there. Push a brad fastener through the corners and into a straw or a pencil eraser. Loosen the brad a touch so the paper spins without tearing. Tape the straw to a craft stick, then test it near a fan. Kids will want “just one more spin,” and honestly, same.
13. Hand Fans for Hot Days
This craft is a lifesaver for warm classrooms and summer birthdays. Kids can cool off and show off their art at the same time.
Have kids color a full page, then fold it back and forth like an accordion, using one-inch folds. Press the folds flat so the fan opens cleanly.
Fold the accordion in half and pinch the bottom. Staple the bottom edge, then add a strip of tape over the staple so it stays smooth.
Tape two craft sticks on each side as handles. Press them tight, then open the fan and give it a test wave.
Trim the top edge into a curve if you want. Kids will start fanning each other like tiny royalty, and it always makes people laugh.
14. Hanging Mobiles
Mobiles are great for classrooms, bedrooms, or a party corner. They also give you a place to show more than one finished page without taping everything to the wall.
Pick 4–8 shapes from different colored pages and cut them out. Stars, animals, hearts, and simple characters all work well. Tape or glue each shape onto a piece of string.
Then tie the strings to a paper plate ring, an embroidery hoop, or two crossed craft sticks, and hang it from the ceiling. If the mobile spins too fast, add a paperclip to the bottom of one string as a tiny weight. Kids will stand under it and just watch.
15. “Stained Glass” Frame Panels
This craft makes a coloring page look like it belongs in a little art gallery. It works best with pages that have big sections you can cut out, like wings, windows, or large background shapes.
As the adult, cut out a few “open” spaces inside the design, then glue the page onto black construction paper to make the outlines pop. Flip it over and tape colored cellophane or tissue over the open spaces.
Kids can mix colors to make it look like real stained glass. Trim the black paper into a neat rectangle and hang it in a window with tape. The outline stays bold, and the light makes the colors glow.
16. Texture-Boost Collage Scenes
Some coloring pages beg for extra texture. This craft is for kids who say, “Can I add stuff?” Autumn and fall themes work great for this.
Start with a finished page and pick 3 areas to upgrade. Cotton balls make clouds and snow. Aluminum foil makes shiny water or robot parts.
Glue the textures down with school glue, then press lightly with a paper towel so the glue does not smear the coloring.
Want a quick “wow” moment? Sprinkle a little sand or salt onto wet glue for beach or snow effects, then shake off the extra when it dries.
Mount the page on cardstock so it does not curl. Kids will touch it and grin.
17. Reusable Paint Stencils
If kids like painting, stencils make it feel easier and “cleaner.” You can turn a coloring page into a stencil set for posters, card stock, or even plain brown paper bags.
Pick a page with bold shapes. If you do not want to cut up a finished page, print a second copy and use that one for the stencil.
Cut out the shapes with a craft knife or small scissors. Tape the stencil onto the paper you want to paint.
Kids can dab paint with a sponge or a stiff brush. Then lift the stencil straight up to avoid smears. Save the stencil in a folder, and you can use it again and again.
18. Paper Weaving Mats
This craft looks impressive, but it’s really just cutting strips and weaving. It also builds patience, which is a rare and beautiful thing.
Cut a rectangle from a finished coloring page and glue it onto cardstock so it feels sturdy. As the adult, cut long slits in the rectangle, leaving a border around the edges. From another colored page, cut long strips.
Kids can weave the strips over and under through the slits, pulling them tight as they go. Tape the strip ends on the back, then trim the edges. Use two colors of strips to make patterns. Use the weave as a small placemat for snacks or a desk mat for supplies.
19. Tiny Gift Card Pockets
Sometimes you need a small gift, but you still want it to feel special. A gift card pocket made from a coloring page does the job, and kids can make it themselves.
Cut a rectangle from the colored page, about twice the size of the gift card. Fold the bottom up to form a pocket, leaving the top open.
Tape or glue the two side edges shut. Then fold the top down like an envelope flap, or leave it open if you want the card to peek out.
Punch a hole in the flap and tie it closed with ribbon. Kids can write the name on the front. It ends up looking like a tiny handmade present, because it is.
20. Lunchbox Note Pockets
If you want kids to smile at lunch, add a tiny note pocket. It uses leftover scraps in a sweet way, and it takes almost no prep. I Love You coloring pages fit this idea perfectly.
Cut a small square from a finished page. Fold the bottom corner up to make a triangle pocket, then tape the two side edges on the back.
Slide a short note inside, like a joke, a doodle, or a simple “You’ve got this.” Write “Open me” on the front if kids love surprises.
Tuck in a sticker or a punch-out heart if you have extras, then keep the pocket flat so it does not squish in the lunchbox.
On busy mornings, grab one and go. Kids keep them like mini treasures.
21. Table Place Cards
If you host a family dinner or a classroom party, place cards keep things organized. Kids also love seeing their name at a “fancy” table.
Fold a piece of cardstock in half to make a tent card. Then cut a small shape from a finished coloring page, like a heart, a star, or a character face. Glue the cutout to the front of the tent.
Write the guest’s name in marker across the front, right under the cutout. Add a simple border line if you want it to look extra neat. It’s simple, and it makes the whole table feel more personal.
22. Cupcake Toppers
Kids love cupcakes, and they love decorations. Put the two together and you get a craft that also works as party prep. Have kids color a page, then cut out small shapes like stars, hearts, or tiny character faces.
Glue the cutouts onto cardstock first if the paper feels floppy. Tape each cutout to a toothpick or a small paper straw, and tape two cutouts back-to-back if you want double-sided toppers. Stick them into cupcakes right before serving, and keep the paper above the frosting. The treats look custom, kids feel involved, and you just turned coloring time into party decor.
23. Water Bottle Labels
If you run a party or a class, water bottles all look the same. A coloring-page label solves that in a cute, low-cost way.
Cut a strip from a finished coloring page that can wrap around a bottle. It should be about 2 inches tall and long enough to overlap an inch at the end. Wrap the strip around the bottle and tape it shut.
If the bottle gets sweaty, cover the strip with clear packing tape first, then trim it into a clean label. Kids can write their name on the label, or you can match labels to a theme. No more “Is this mine?” five times in a row.
24. Reward Coupon Tickets
Kids love coupons because they feel like they “won” something. You can use them at home or in class, and a coloring page makes the tickets look special. Cut the finished page into small rectangles, like tickets, and write rewards like “Pick a bedtime story” or “Helper of the Day.”
Add a dotted line with a marker so kids can tear it off. If you want the tickets to last, laminate the page before you cut it out. Store the coupons in a jar. When kids earn one, they cash it in, and you get a happy moment with almost no extra work.
25. Emotion Wheels
This craft looks like a toy, but it also helps kids name feelings. It’s great for classrooms and for quick family check-ins.
Cut a circle from a colored page and glue it onto cardstock. Divide the circle into 6 sections and label them: happy, sad, mad, worried, calm, excited.
Draw a simple face in each section, or paste tiny faces from the coloring page if you have them. Kids read faces fast.
Cut a small arrow from another colored scrap and punch a hole in the arrow and the center of the circle. Attach the arrow with a brad so it spins.
Kids spin and share a time they felt that emotion, or they point to what they feel right now. It starts good talks without pressure.
26. Story Starter Spinners
If kids finish a coloring page and then ask, “Now what?” turn it into a story game. This works well with character pages, animals, or anything that looks like it has a plot.
Cut two circles from cardstock. On the bottom circle, write prompts around the edge, like “Find a clue,” “Meet a friend,” “Get lost,” and “Celebrate.”
On the top circle, cut a small window. Glue a colored cutout from the finished page in the center, so the character becomes the “main star.”
Stack the circles and attach them in the center with a brad. Spin the top circle to reveal one prompt in the window.
Kids tell one sentence for each spin. You get a whole story, and nobody even notices they are practicing speaking.
27. DIY Memory Match Game
This craft turns colored pages into a game kids will actually play more than once. It’s also a sneaky way to practice focus and turn-taking.
Cut out 12–20 small squares from a finished coloring page. If you want real matching pairs, print two copies of the same page and color them the same way.
Glue each square onto cardboard, like an old cereal box, then cut them out again so they feel like sturdy cards. Cover the fronts with clear tape.
Store the cards in a zip bag. Pull them out on rainy days, road trips, or when you need a quiet reset.
Place the cards face down and take turns flipping two at a time. Kids remember the funniest faces first, which is honestly relatable.
28. DIY Bingo Boards
Bingo is a classic for a reason. Kids stay engaged, they learn to scan and match, and you can play it at home or in a classroom without much setup.
Print two or three different coloring pages with the same theme, then have kids color them. Cut out small icons from the pages to use as “call cards.” On a blank sheet, draw a simple 4×4 grid.
Kids can glue one icon into each square to create their own bingo board. When you play, pick a call card, show it, and kids cover the match with a coin or scrap paper. First line wins, and kids will beg for “one more round.”
29. Countdown Chains
When kids ask “How many days until…?” a countdown chain saves your brain. It also turns scrap coloring pages into something useful and fun. Cut the finished pages into long strips, about 1 inch wide, and write numbers on the back from the biggest down to 1.
Loop the first strip into a ring and tape or staple it. Then thread the next strip through and make another ring, like a paper chain. Use one color for weekdays and another for weekends if you want an extra learning moment. Hang the chain on a wall or fridge. Each day, kids tear off one ring, and the big day feels closer in a real way.
30. Scrapbook Memory Pages
If you keep kids’ art in piles (you are not alone), turn it into a scrapbook page. It feels organized, and kids love flipping through old creations later.
Start with a piece of cardstock as the base. Glue the finished coloring page on one side, but leave space for a photo, a date, or a short note.
Kids can add small extras from other colored pages, like speech bubbles, stars, or borders. Ask them to write one sentence about the day, even if it’s just “We laughed a lot.”
Slide the finished page into a sheet protector and store it in a binder. You end up with a memory book that costs almost nothing, but it feels priceless!